
How to Dry a Backpack After Washing Without Ruining It

A washed backpack looks clean, but it is not ready to use until every layer is dry: the shell, lining, seams, padding, straps, and pockets. Miss one damp corner and you invite mildew, lingering odor, and that “why does my bag smell off?” problem a week later.
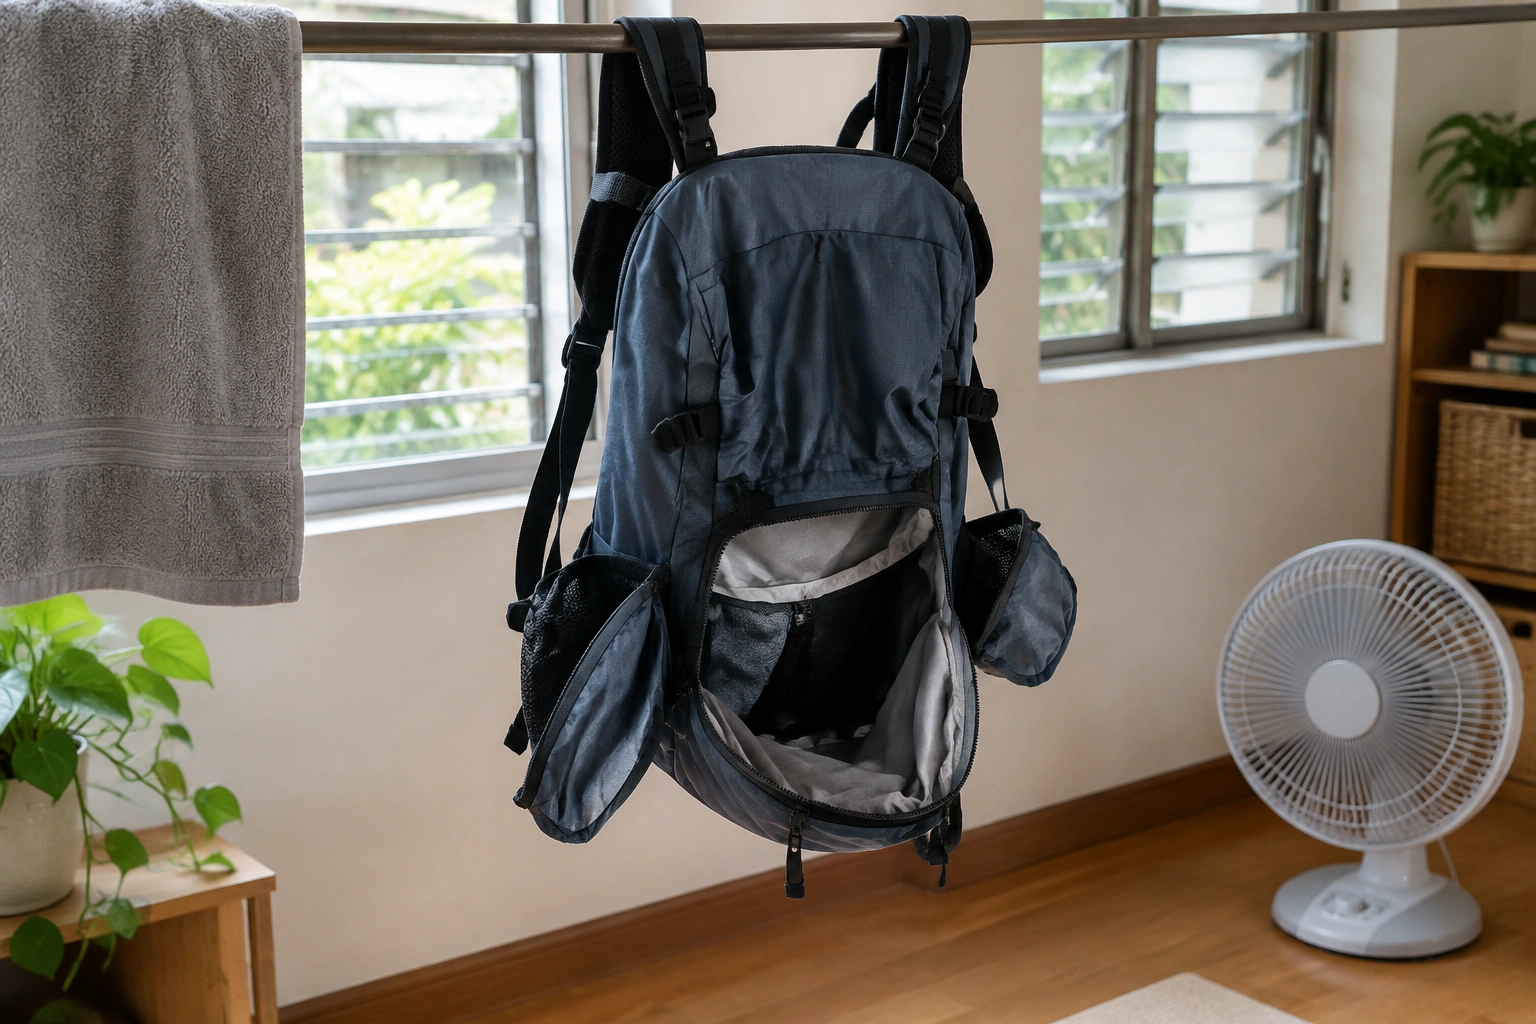
Quick answer
- Safest default: air dry the backpack fully in a well-ventilated area.
- Fastest safe method: towel blot first, then use fan-assisted air drying with all pockets and compartments open.
- Do not use a dryer unless the care label explicitly allows low heat. Even then, air drying is still the preferred option for shape, coatings, foam, and hardware.
I fix a lot of bags for travelers and commuters, and the same drying mistakes keep showing up: people use heat, close up pockets, or store the pack while the foam is still damp inside. The safest approach is usually slower, but it protects shape, coatings, and hardware.
Can You Put a Backpack in the Dryer?
In most cases, no. The safest default is to air dry a backpack after washing, not tumble dry it. Eagle Creek advises removing the bag promptly after the wash cycle and air drying it in a well-ventilated area, and Whirlpool says never to put a backpack in the dryer because heat can damage the fabric and zipper pulls. Eagle Creek | Whirlpool
That warning matters because a dryer does two things backpacks dislike:
- Heat can stress coatings, adhesives, foam, and some trims.
- Tumbling can bend frames, twist straps, and beat up zipper hardware.
If a care label explicitly says low heat is allowed, that is the only time machine drying is worth considering. Use the gentlest low-heat setting possible, remove the bag as soon as it is dry enough, and expect air drying to remain the safer choice even then.
Quick decision rule
- No care label or unclear label: air dry only.
- Synthetic daypack, school bag, travel pack: air dry, ideally with fan assistance.
- Leather, coated, insulated, or waterproof-lined pack: avoid dryer heat entirely.
- Only if the manufacturer specifically allows low heat: use the gentlest setting possible, and even then air drying is preferred.
What You Need Before Drying the Backpack
You do not need special gear, but a few simple tools make the job faster and safer:
- 1–2 clean, dry towels
- A fan
- A well-ventilated room, covered porch, or shaded outdoor spot
- A hanger, drying rack, or clothesline
- Optional: a dehumidifier for humid indoor spaces
If you washed the backpack with soap, rinse thoroughly before drying. Topo Designs notes that lingering soap residue attracts dirt, which is exactly what you do not want after cleaning. Topo Designs care tips
Before you hang anything up, unzip every compartment and shake out loose water. That small step keeps moisture from pooling in corners and makes the rest of the process more efficient.
Step 1: Remove Excess Water Safely
The fastest safe drying method begins before the bag is hung up. Press out moisture gently instead of wringing or twisting the pack.
Do this instead of wringing it out
- Hold the backpack over a tub or sink and let water drain naturally.
- Press a towel against the outside fabric.
- Open the bag and blot the inside lining, seams, and pocket bottoms.
- Pay attention to the bottom panel and padded back section, where water tends to linger.
Whirlpool recommends using an old towel to gently pat away excess moisture after washing, then hanging the bag to air dry. Eiken Shop gives the same practical advice: blot inside and out, then let the bag drip dry upside down so water can escape from pockets and corners. Eiken Shop
Why this matters
A backpack that starts drying while still dripping can take much longer to finish. That extra time is where odors and mildew usually begin, especially in foam padding and stitched seams.
Step 2: Open Every Pocket, Zipper, and Compartment
Once the surface water is removed, open the bag fully.
- Unzip all compartments
- Open small accessory pockets
- Loosen compression straps
- Pop open flap closures and roll-top openings
- Pull out removable inserts, organizers, and rain covers
Air circulation is the goal. Closed compartments trap moisture, and trapped moisture is what causes that stubborn “damp closet” smell.
If your backpack has a padded laptop sleeve or thick back panel, leave those sections open as much as the design allows. These areas dry slower than the shell fabric because foam and mesh hold water in tiny spaces.
Step 3: Choose the Best Drying Method
For most backpacks, the best method is air drying with good airflow. Fan-assisted drying is the quickest safe upgrade. Outdoor drying can work well in dry weather, but direct sun is not always the best choice for every material.
Drying method comparison
| Method | Best for | Speed | Risk level | Notes |
|---|---|---|---|---|
| Passive air drying | Most backpacks | Slow | Very low | Safest for coatings, foam, and trims |
| Fan-assisted drying | Synthetic daypacks, school bags, travel packs | Moderate | Low | Best balance of speed and safety |
| Outdoor drying in shade | Dry climates, sturdy synthetic bags | Moderate | Low to moderate | Good airflow, but avoid harsh sun on sensitive materials |
| Machine drying | Only if care label explicitly allows it | Fast | High | Heat and tumbling can damage fabric, structure, and hardware |
My practical recommendation
If you need the bag back soon, use towel drying plus a fan. That gives you most of the speed benefit without the risks of heat. If you are not in a hurry, a shaded, ventilated indoor space is the gentlest option.
How to Position the Backpack While It Dries
The bag’s position affects how fast water escapes and whether the shape stays true.
Best general setup
- Hang the backpack upside down if possible.
- Keep zippers open.
- Leave pockets open.
- Make sure air can reach both the front and back.
Eagle Creek recommends hanging the backpack upside down on a clothesline or sturdy hanger in a well-ventilated area. Alpinetrek also advises hanging it upside down after hand washing so water can drain out. Alpinetrek
Hanging by straps: useful, but not always ideal
You can hang a backpack by the straps if the bag is light and the strap hardware is sturdy. I would avoid doing that with a soaked, heavy pack for long periods. Wet weight can stretch straps and stress buckles or attachment points.
When laying flat makes more sense
Lay the backpack flat if:
- It has a rigid frame sheet
- It has delicate leather trim
- It feels top-heavy when hung
- You want to protect the shoulder straps from stretching
If you lay it flat, flip or rotate it periodically so the underside does not stay damp.
How to Dry the Inside, Padding, Seams, and Straps
This is where most people miss moisture.
Thick padding and mesh back panels
Foam and mesh trap water longer than plain fabric. Press a dry towel against the padded back panel, then leave the pack open with airflow reaching that area directly. A fan aimed across, not straight into, the opening usually helps air move through the padding without forcing the bag to flap around.
Seams and corners
Seams dry slowly because water collects where fabric layers overlap. Check the stitch lines around the bottom, zipper tracks, and pocket corners. If those areas still feel cool or slightly damp, leave the bag open longer.
Straps and webbing
Straps often dry faster than the main body, but buckles, adjusters, and stitched joins can stay damp. Spread the straps out so they are not folded over each other.
Insulated compartments
If your backpack has an insulated lunch compartment or cooler section, expect it to dry slower than the rest of the bag. Wipe out any remaining moisture and leave that compartment fully unzipped until the lining no longer feels clammy.
Removable inserts, framesheets, and hip belts
If the bag has removable parts, take them out and dry them separately:
- Framesheets: stand them in open air and dry both sides
- Removable hip belts: unfasten them so the padding and stitching can dry fully
- Detachable organizers or inserts: dry them flat, not bunched up inside the bag
Drying Different Backpack Materials
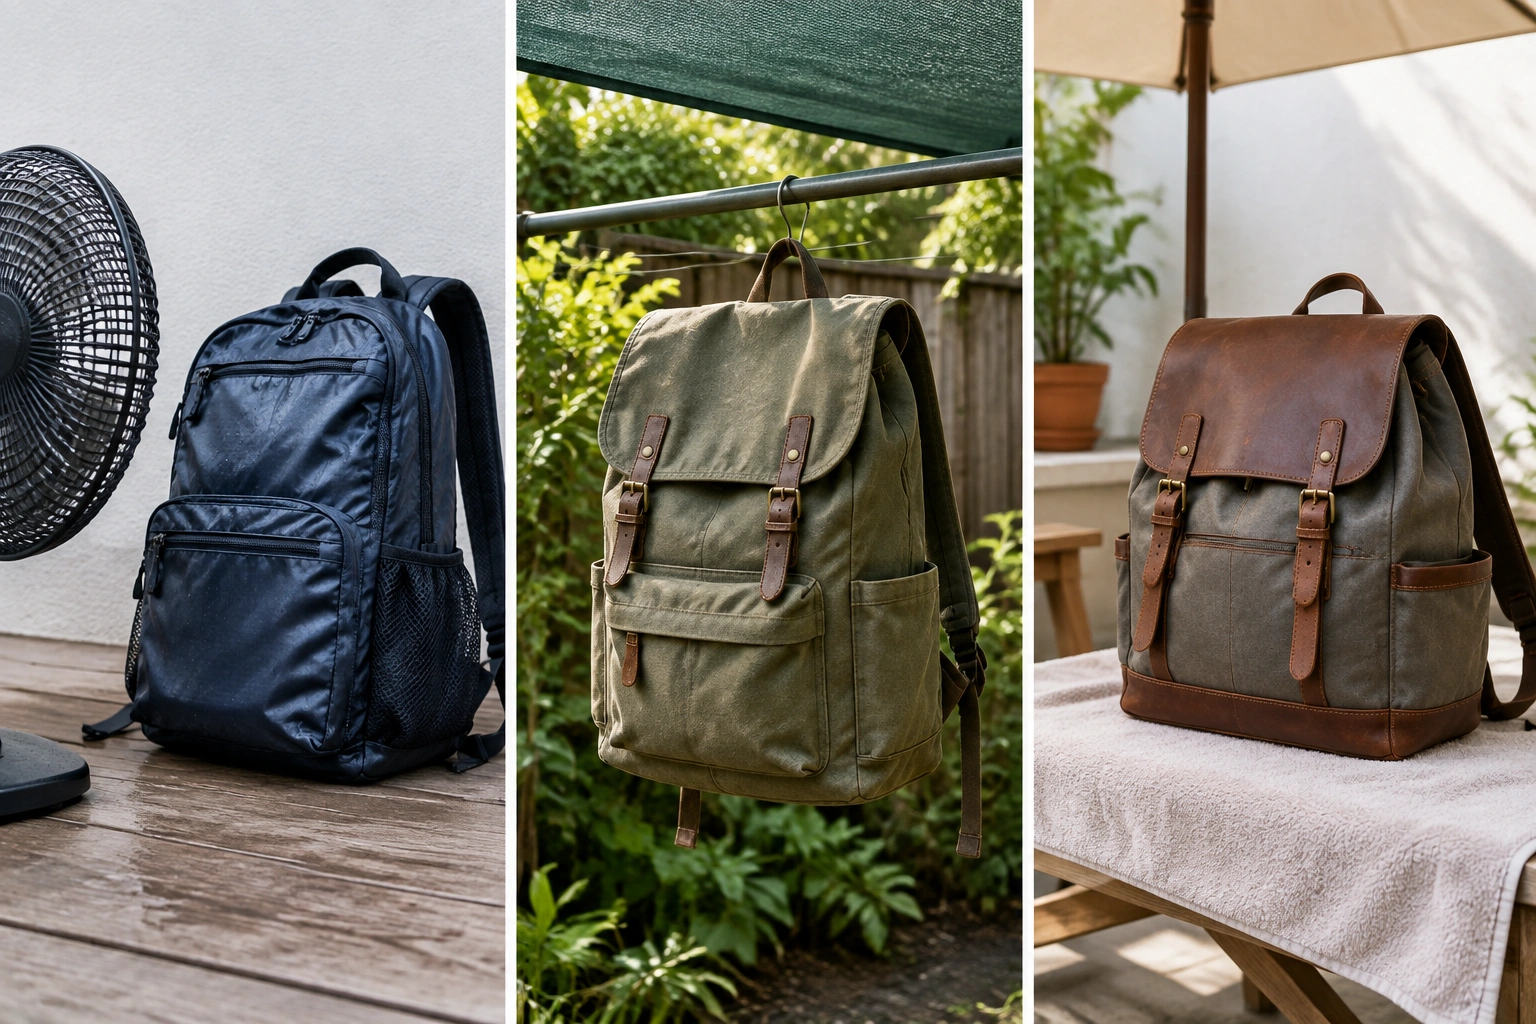
Material matters. The outer fabric may dry quickly while the trim or coating needs extra care.
Nylon and polyester
These synthetic fabrics are the most forgiving. They usually handle air drying well and dry faster than heavier natural fabrics. Fan-assisted drying works especially well here.
Canvas
Canvas can take longer because it holds water in the weave. Dry it in shade if possible, since prolonged direct sun can fade color and make some canvas feel stiff.
Waterproof or coated fabrics
Be gentle. Coatings and DWR finishes are there for performance, so avoid high heat and aggressive drying methods. Keep the pack in a ventilated space and let airflow do the work. If you want to preserve the finish, slow drying is the safer trade-off. For coated synthetics, avoid direct sun when you can, since prolonged sun exposure is not the gentlest option for the coating or the fabric.
Leather or leather-trimmed backpacks
Keep leather away from direct sun and heat. Leather can dry unevenly, stiffen, or crack if pushed too hard. If the pack has leather trim, dry the synthetic body normally but protect the leather sections from prolonged heat and harsh sun. Do not use a dryer or place leather in direct sunlight to speed things up.
Backpacks with rain covers
Deuter’s care guidance says to remove the rain cover before cleaning, and that same logic applies during drying: separate removable pieces so they can dry independently in a well-ventilated, dry place. Deuter backpack care
How Long a Backpack Takes to Dry
Drying time depends on material, padding thickness, humidity, and airflow, so a single exact number would be misleading.
A practical estimate:
- Thin synthetic daypack in good airflow: often dry in a few hours
- Average school or commuter backpack: commonly needs several hours to overnight
- Heavily padded travel pack, insulated bag, or thick canvas bag: often needs overnight or longer
- Humid room with little airflow: can take much longer, sometimes into the next day
Use this rule of thumb: the thicker the padding and the more trapped air inside the bag, the longer it takes. A fan shortens the wait more reliably than direct heat.
If you need the bag for school or commuting the next day, start with towel blotting, then use a fan in a dry room. If you can wait, a full overnight dry in a ventilated space is often safer than trying to rush it.
How to Tell When the Backpack Is Fully Dry
Do not trust the outside fabric alone. A bag can feel dry on the shell while the padding, seams, or pocket corners are still holding moisture.
Check these spots by touch
- Inside the main compartment
- Along zipper tape and seam lines
- Bottom corners
- Padded back panel
- Shoulder straps near the attachment points
- Laptop sleeve or insulated pocket, if present
If any area feels cool, slightly damp, or heavier than the rest, give it more time.
Final check before storage or reuse
- Press seams and corners with your fingers
- Feel inside padded sections and pockets
- Check under straps and around hardware
- Wait an extra hour or two if the bag is close but not fully dry
- Store it only when every hidden area feels dry, not just the outer shell
Common Mistakes to Avoid When Drying a Backpack
A few habits cause most of the damage I see.
Avoid these mistakes
- Putting the backpack in the dryer
- Closing pockets before the bag is fully dry
- Hanging a heavy wet pack by one strap for hours
- Leaving it in direct sun too long
- Storing it in a closet or car while still damp
- Ignoring the care label
The biggest one is premature storage. If the pack goes into a closed space before it is fully dry, mildew can start in the padding even when the outside seems fine.
How to Prevent Mold, Mildew, and Odors
The main goal is to get the backpack dry as soon as practical and keep air moving around it.
Best prevention habits
- Dry the backpack immediately after washing
- Keep all compartments open
- Use a fan if indoor air is still
- Move the pack to a drier room if the first space is humid
- Check hidden areas before storing
Seventh Generation recommends opening all pockets and compartments and leaving the bag outdoors in a dry spot for several hours, or overnight if needed, to freshen it up. That advice is especially useful when the bag is clean but still smells a little off. Seventh Generation
Troubleshooting: What If the Backpack Still Feels Damp or Smells Musty?
If the bag is almost dry but not quite there, do not force it with heat. Re-open everything and improve airflow.
Try this sequence
- Blot the damp spots again with a dry towel.
- Reposition the bag so the wettest area is exposed.
- Move it closer to a fan.
- Separate any folded straps or liners.
- Leave it in a drier room or shaded outdoor area.
If the smell is musty but the bag is dry to the touch, the issue may be trapped moisture in padding or residue in seams. Give it more time in moving air before you store it.
Practical Examples: Drying Common Backpack Types
School backpack made of polyester
This is the easiest case. Towel blot the inside, open every pocket, and dry it indoors with a fan. Polyester usually dries faster than heavier fabrics, so you can focus on the padded sections and seam lines instead of the shell.
Travel backpack with thick back padding
Treat the back panel like a sponge. Open the pack fully, hang it upside down, and point a fan toward the open main compartment. Rotate it if the padding still feels damp after a while. Do not rush this type with heat, since thick foam can hold moisture deep inside.
Canvas backpack
Dry in shade rather than harsh sun. Canvas can take longer, and strong sunlight can fade the fabric or make it feel stiff. If the canvas has leather trim, keep that trim out of direct sun as well.
Water-resistant nylon backpack
Skip heat and keep the coating in mind. Air drying with a fan is the safest way to preserve the finish after washing. If the pack has a DWR-coated shell, avoid prolonged direct sun and let airflow do the work.
Leather-trimmed backpack
Keep the leather sections out of direct sun and away from heaters. Dry the fabric body normally, then let the leather finish drying naturally. If the leather feels stiff or dry, stop adding heat immediately and let it recover at room temperature.
When to See a Luggage Repair Specialist
If the backpack still smells musty after thorough drying, or if a coated fabric, leather trim, or structural component looks warped, sticky, or damaged, a luggage repair specialist can tell you whether the problem is cosmetic, moisture-related, or something deeper. That is especially worth considering for expensive travel packs, bags with internal frames, or backpacks with specialty finishes.
For more care guidance, see our related guides on how to wash a backpack and how to clean a backpack. You can also browse the full backpack and luggage care collection for more practical maintenance tips.