
How to Clean Luggage Without Damaging the Shell, Fabric, or Hardware

Clean luggage lasts longer, looks better at the curb and in the hotel lobby, and is less likely to carry grime into your closet between trips. The trick is not using more cleaner. It’s using the right method for the material and stopping before water, abrasion, or chemicals reach places they shouldn’t.
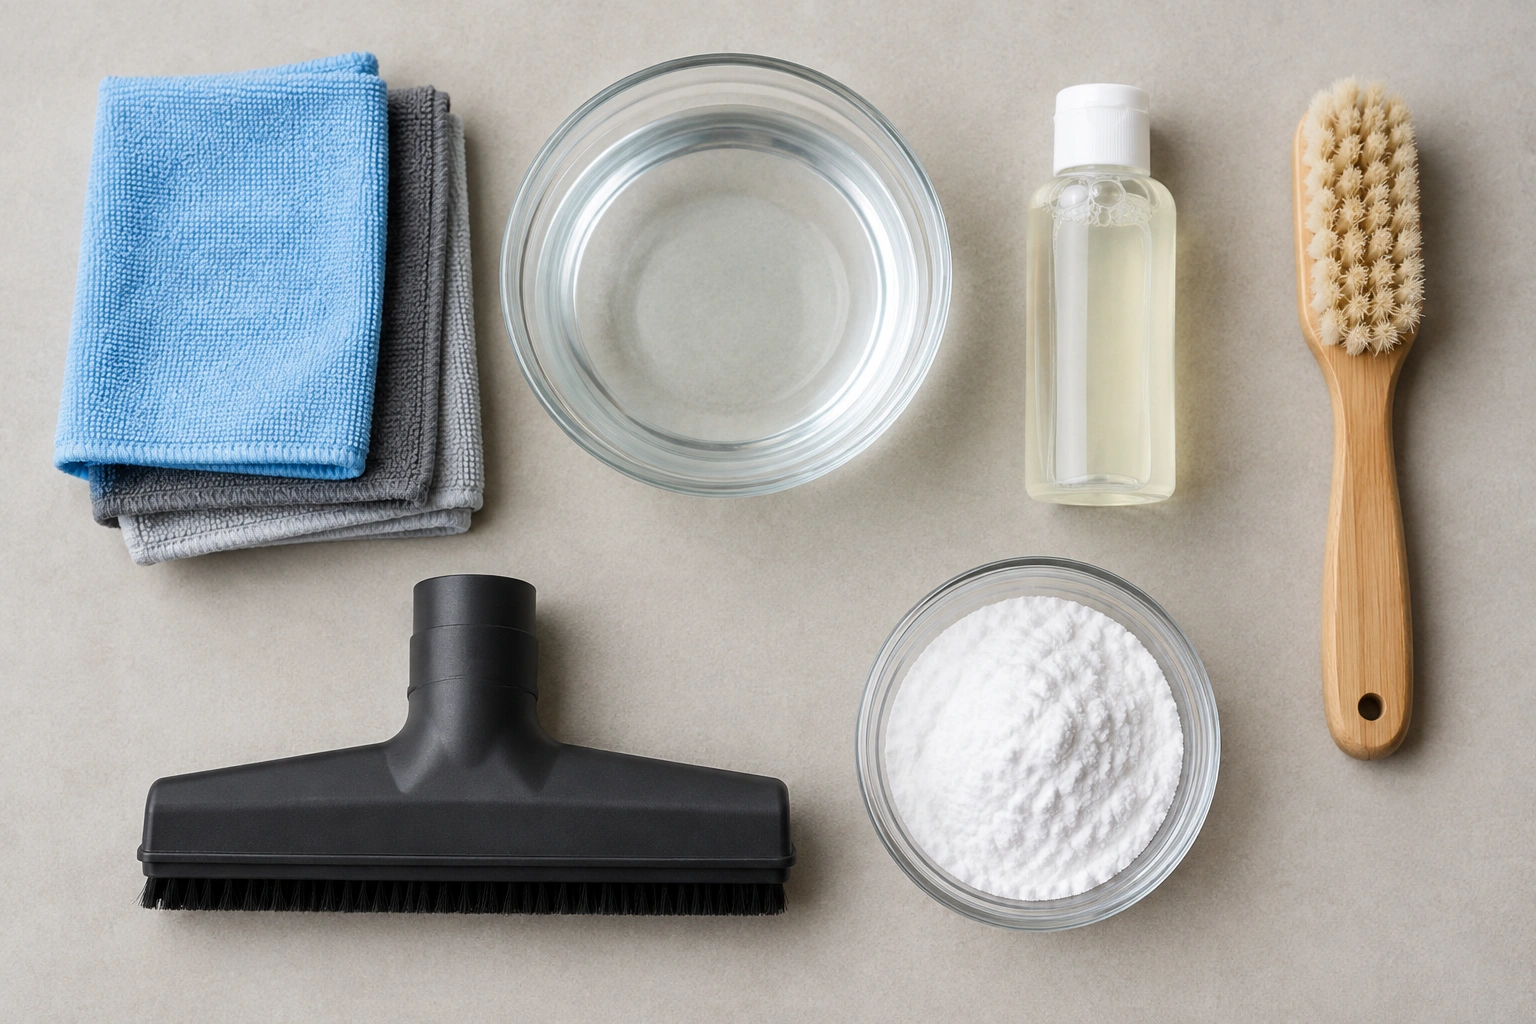
Can you clean luggage with soap and water? Yes, in most cases you can use mild soap and warm water, but the safest default is a lightly damp microfiber cloth, gentle dish soap, and a test spot first. If the care label says not to soak, not to use a certain chemical, or not to machine wash, follow that guidance.
I’ve seen plenty of bags ruined by a well-meant scrub: dull polycarbonate, fuzzy nylon, sticky zippers, and mildew from a suitcase closed too soon. The good news is that most luggage only needs mild soap, warm water, a microfiber cloth, and a little patience.
What You Need Before Cleaning Luggage
Before you touch the bag with water, gather a simple kit:
- Microfiber cloths
- A soft sponge
- Mild dish soap
- Warm water
- A vacuum with a brush attachment
- Soft brush or old toothbrush for seams and hardware
- Baking soda for odors
- A dry towel for blotting
If the care label explicitly allows it, you can use a disinfecting wipe on some hard surfaces after cleaning. Otherwise, skip disinfectants and keep to soap and water. Bleach, abrasive pads, and strong solvents are generally not part of the basic kit.
If you use a cleaner, test it on a hidden spot first. That matters most on coated fabrics, glossy hard shells, and darker finishes where discoloration shows fast.
One more useful habit: remove luggage tags, locks, charms, and detachable organizers before cleaning. That gives you better access and keeps you from trapping moisture under hardware.
Check the Luggage Material and Care Label First
The care label is the best decision-maker in the whole process. If the manufacturer says not to soak, not to machine wash, or not to use a certain chemical, follow that guidance.
Here’s the practical split:
- Polycarbonate: usually the easiest hard shell to wipe clean. Use mild soap and water, a soft cloth, and very light pressure. Avoid abrasives, harsh solvents, and aggressive polishing.
- ABS: also a hard shell, but often more prone to scratching or dulling than polycarbonate. Use the gentlest method first and skip anything abrasive.
- Nylon: usually durable, but it can hold onto grime in the weave. Spot clean with minimal moisture and a soft brush only when needed.
- Polyester: similar to nylon, but often a bit more forgiving on everyday cleaning. Still avoid soaking the lining, foam, or seams.
- Canvas: can handle careful spot cleaning, but it stains more easily and can hold water longer. Use the least moisture possible and let it dry thoroughly.
- Leather or leather-trimmed luggage: use only leather-safe products and keep water use minimal.
- Coated or specialty finishes: treat them cautiously. A cleaner that works on one bag may haze or dull another.
If you’re unsure, clean the bag as if it’s delicate: less water, gentler cloth, and no scrubbing.
How to Clean Hard-Shell Luggage
For polycarbonate and ABS luggage, the safest routine is simple: wipe, rinse, dry.
1) Remove loose dirt first
Use a dry microfiber cloth or vacuum brush attachment to clear dust, grit, and sand. This prevents rubbing debris into the shell.
2) Mix a mild cleaning solution
A small amount of dish soap in warm water is enough. You want suds, not a bucket of foam.
3) Wipe section by section
Dampen a cloth, wring it out well, and wipe one panel at a time from top to bottom. That keeps dirty water from running across already-clean areas.
4) Rinse the surface
Use a cloth dampened with clean water to remove soap residue. Keep the cloth only lightly wet so you are not flooding seams or trim.
5) Dry immediately
Buff with a dry microfiber cloth. Standing water is what leaves spots and streaks.
Glossy, matte, and coated shells
- Glossy polycarbonate: use extra-light pressure to avoid micro-scratches.
- Matte shells: skip polishing and abrasive cleanup methods that can change the finish.
- Coated shells: avoid strong solvents and test any cleaner in a hidden spot first.
Scuffs and black marks
For scuff marks, use a baking soda paste or a magic eraser very gently. If you press hard, you can dull the finish.
What not to do
Do not use steel wool, rough scrub pads, or harsh powders. They can leave permanent fine scratches that show up every time light hits the shell.
For deeper scratch removal, see our guide on how to remove scratches from luggage.
How to Clean Soft-Sided or Fabric Luggage
Soft-sided luggage needs a lighter touch than hard-shell bags because water can soak into the fabric and padding.
1) Vacuum first
Use a brush attachment to remove crumbs, lint, and dust from the exterior, seams, and pockets. Vacuum the inside too so loose debris does not smear when you add moisture.
2) Spot clean before you do a full wipe
If the bag only has a few marks, spot cleaning is usually the safer choice. Mix mild soap with warm water, dampen a cloth, and dab the stain instead of scrubbing it.
3) Clean in small sections
For broader grime, work panel by panel with a barely damp cloth. Keep the cloth moist enough to lift dirt, not soak the fabric.
4) Use a soft brush only when needed
A soft brush can help with textured canvas or stubborn dirt in the weave, but use gentle strokes. Aggressive brushing can fuzz the surface or push dirt deeper.
Material-specific guidance
- Nylon: usually handles gentle spot cleaning well. Focus on seams and high-touch areas, but keep water light.
- Polyester: clean with the same mild-soap approach. It often wipes down easily, but seams and pockets still need careful drying.
- Canvas: use minimal water and a soft brush only if needed. Because canvas can hold moisture, avoid repeated soaking or heavy scrubbing.
Spot cleaning vs. full cleaning
- Spot cleaning is best for a coffee drip, a grease mark, or a single muddy patch.
- Full cleaning makes more sense after a long trip, if the bag smells stale, or if multiple panels are dirty.
Avoid saturation
Do not soak soft-sided luggage. Keep water away from foam backing, stiffeners, and seams as much as possible. If the lining feels wet, stop and blot it dry before continuing.
Machine washing?
Only if the care label explicitly allows it. Many luggage bags include foam, backing, zippers, or structure that can be damaged in a washer. If the label is unclear, hand cleaning is the safer path.
For fabric travel bags that need a similar approach, our travel backpack cleaning guide covers gentle fabric care in more detail.
How to Clean the Inside of a Suitcase
The inside is where crumbs, dust, and odors usually hide. Clean it even if the exterior looks fine.
1) Empty every pocket
Check zipper pouches, mesh compartments, lining folds, and hidden corners. It’s common to find receipts, snacks, or loose toiletries in the lining.
2) Vacuum the interior
Use the brush attachment to lift crumbs and lint from the lining, corners, and seams. Don’t jam the nozzle into the fabric; let the brush do the work.
3) Wipe the lining
Use a cloth lightly dampened with warm water and mild soap. Wring it out well. The goal is to clean the surface, not wet the padding underneath.
4) Clean odor-prone spots
Pay extra attention to corners, pocket bottoms, and the folds where the lining meets the shell. Those areas trap crumbs and moisture more easily than open panels.
5) Treat odors
Open all compartments and let the suitcase air out fully before you do anything else. A light dusting of baking soda can help with stale smells, but it is only an aid, not a substitute for drying. Leave it in the empty suitcase for several hours, then vacuum it out.
6) Clean removable liners separately
If your suitcase has removable inserts or liners, check the care label. Some can be hand washed in warm water and gentle dish soap; others are delicate enough to need only wiping.
The main rule here is simple: don’t saturate the interior. Moisture trapped in foam or cardboard-like support layers is a fast route to mildew.
How to Clean Wheels, Handles, Zippers, and Other Hardware
These small parts collect the worst grime because they touch floors, curbs, baggage belts, and damp sidewalks.
For wheels, our dedicated luggage wheels cleaning guide walks through a safer, more detailed method.
Wheels
Brush off grit first, then wipe with a damp cloth. If dirt is packed into the wheel housing, use a soft brush or cotton swab. Don’t force debris deeper into the axle area.
Telescoping handle
Extend the handle fully and brush away dust and grit from the rails and tubes. Then wipe the moving parts with a damp cloth, dry them thoroughly, and test the handle before retracting it. If it feels sticky, wipe again rather than forcing it closed.
Zippers
Use a dry cloth or soft brush to remove lint and sand from the zipper teeth. If the zipper feels gritty, a tiny amount of cleaner on a cloth is better than spraying directly onto the track. For more detail, see our article on how to clean luggage zippers.
Plastic feet, trim, and grips
Wipe these parts with the same mild soap solution you use on the shell or fabric. Then rinse and dry so residue doesn’t attract more dirt.
Lubricants
Do not apply lubricant unless the manufacturer recommends it. Many zippers and handle systems work better when they are simply cleaned and dried.
How to Remove Stains, Scuffs, Sticky Residue, and Odors
Different problems need different tactics. That’s where people usually overclean or use the wrong product.
Stains
- Food or drink spots on fabric: blot first, then dab with mild soap and warm water.
- Oil stains: absorb as much as possible with a dry cloth before adding any moisture.
- Grime on hard shells: wipe with mild soap and water, then rinse.
Scuffs
On hard shells, try a baking soda paste or a magic eraser very gently. If the mark is actually a scratch, cleaning may not remove it completely. It can only reduce the visible residue around it.
Sticky residue
Sticker glue, airline tag adhesive, and tape residue often come off with repeated wiping using mild soap and warm water. If that fails, a small amount of alcohol on a cloth may help on some hard shells, but test first. Avoid scraping with a blade; that turns residue into a gouge.
Odors
Odors usually come from moisture, food, or storage in a closed bag. Open every compartment, air the suitcase out fully, and let it dry completely before putting anything back inside. Baking soda can help with mild smells, but only after the bag is dry. If the odor returns, moisture is probably still trapped in the lining or seams.
How to Dry and Air Out Luggage Properly
Drying is where a lot of good cleaning work gets undone.
Wipe away as much moisture as possible with a towel, then leave the suitcase open. Dry the exterior, interior lining, zipper tracks, wheel housings, and handle tubes separately if needed.
Indoor drying is the safer default for most bags because it avoids direct sun and heat, which can warp some plastics or fade fabrics. Outdoor drying can be faster, but only if the weather is dry and the bag won’t sit in full sun for long.
A good rule: if the bag still feels cool, damp, or heavy in the seams, it is not ready for storage yet.
Never close a suitcase while it’s still damp. That’s how odors and mildew start.
Common Mistakes to Avoid When Cleaning Luggage
The most common damage comes from trying to speed things up.
- Using bleach or harsh chemicals without checking the label: avoid bleach entirely unless the care label explicitly allows it. Even then, use it only on compatible materials and follow the label exactly.
- Using disinfectant wipes on every bag: some hard surfaces may tolerate them, but many fabrics, coatings, and specialty finishes should not be exposed to them.
- Using a diluted bleach solution casually: do not use bleach on unknown materials, coated fabrics, leather, or delicate finishes. If a care label explicitly allows bleach, follow that instruction only for the approved material and rinse thoroughly if directed.
- Scrubbing with abrasive pads: these can scratch hard shells and rough up fabrics.
- Soaking the bag: water can get into seams, foam, zippers, and structural layers.
- Cleaning the wrong way for the material: what works on polycarbonate may damage canvas or coated fabric.
- Storing it before it’s dry: trapped moisture leads to odors and mildew.
If you’re working on a bag with a delicate finish, I’d rather see you use soap and water well than a stronger chemical poorly.
Routine Maintenance Between Trips
A little upkeep keeps cleaning from turning into a project.
After a trip, wipe the exterior quickly, empty the interior, and let the bag air out before putting it away. If you travel often, a fast vacuum and a damp cloth wipe every few trips keeps dirt from building up in seams and wheel housings.
During storage, keep luggage in a dry place with the zipper slightly open if possible. That helps air circulation and reduces stale odors.
Packing accessories can also help keep luggage cleaner and more organized during travel.
Final Checklist: After-Cleaning Drying, Deodorizing, and Storage
Before you put luggage away, make sure you’ve done the basics:
- Exterior wiped clean and fully dry
- Interior lining, pockets, corners, and seams dry to the touch
- Wheels, wheel housings, zipper tracks, and handle tubes dry
- Odors addressed with airing out first and baking soda only as an aid
- No damp towels, liners, or accessories left inside
- Bag stored in a dry place with airflow if possible
When to See a Luggage Repair Specialist
If a wheel is seized, a telescoping handle sticks after cleaning, a zipper track is bent, or the shell has a crack rather than a scuff, cleaning won’t solve the problem. That’s the point to bring it to a repair specialist before the issue gets worse.
The same goes for bags with mold that keeps returning, severe odor inside the padding, or discoloration that appears after using a cleaner. At that stage, the bag may need material-specific treatment rather than another pass with soap.
Clean luggage is mostly about restraint: the least aggressive method that gets the job done. If you choose the method based on the material, keep water controlled, and dry the bag fully, most suitcases can look presentable again without much drama.