
How to Clean Luggage Wheels Without Damaging Them: A Practical Step-by-Step Guide

Luggage wheels take a beating. They pick up airport dust, sidewalk grit, hair, sticky spills, and the kind of grime you only notice once the suitcase starts dragging instead of rolling. The good news is that most wheel problems are simple buildup problems, not permanent damage.
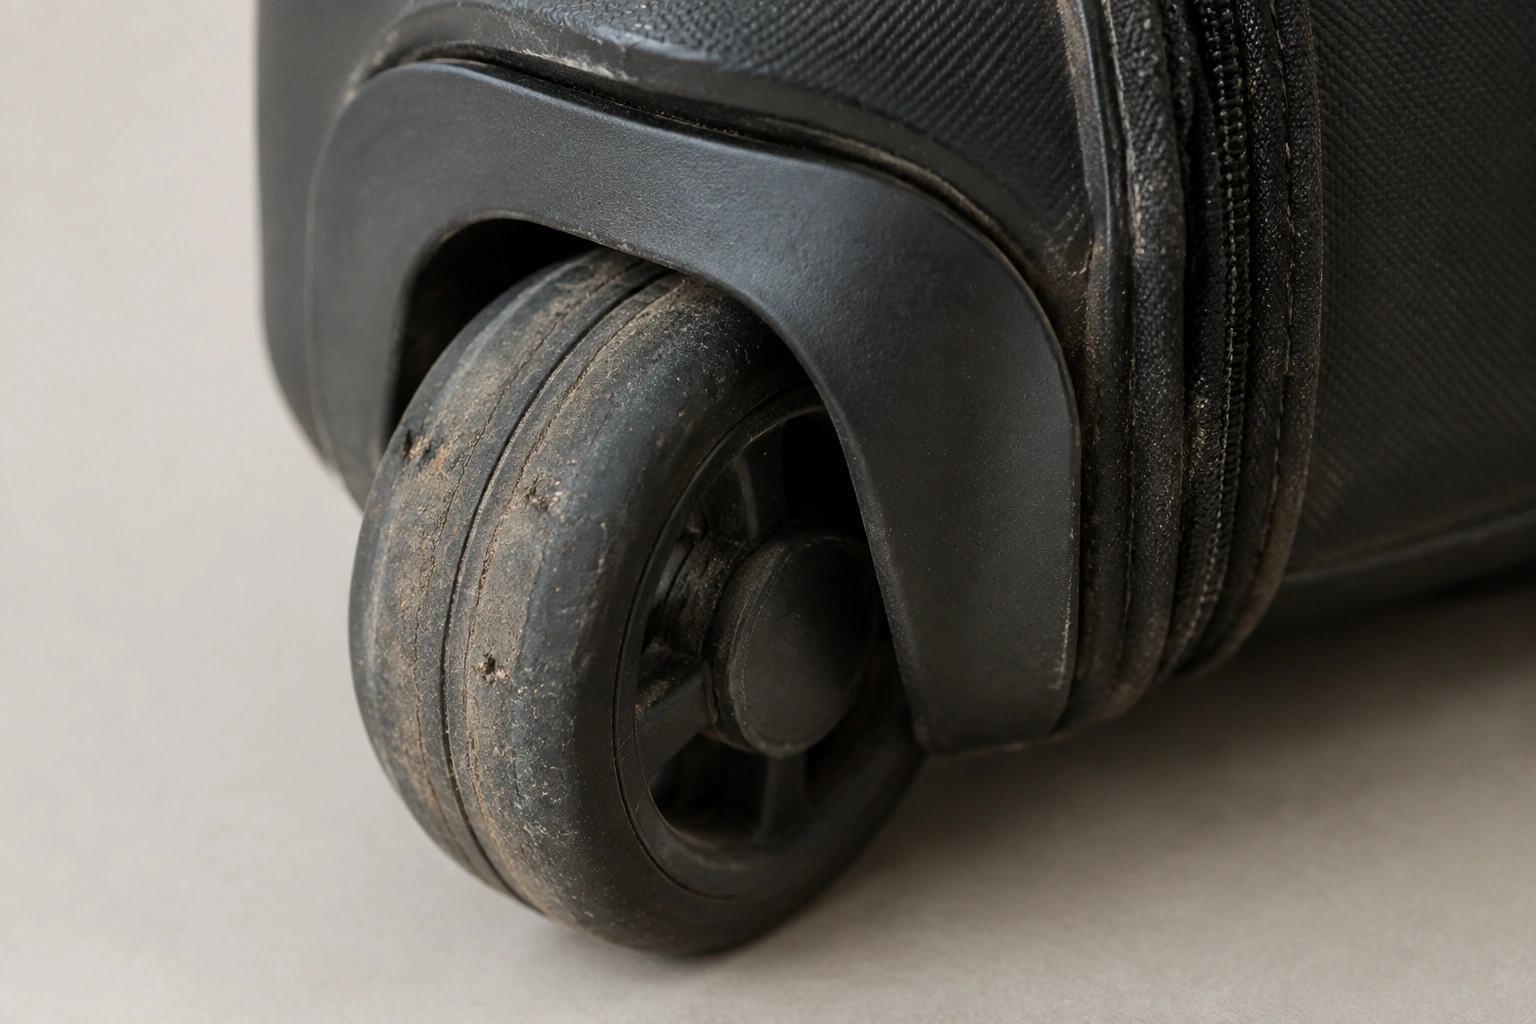
A practical approach is to remove loose debris first, clean the moving parts gently, then dry everything fully before you call it done. That sequence matters because water alone tends to smear dirt deeper into the wheel housing, while a careful dry clean can solve a surprising amount of squeaking and sticking before you ever reach for soap.
If you want a broader care routine for the rest of your bag, Queryoro’s backpack and luggage care hub and this guide on how to clean a backpack are useful companions.
What You’ll Need
For most luggage wheels, gather a small kit organized by purpose:
Dry cleaning and detail tools
– Soft brush or old toothbrush
– Cotton swabs
– Optional: compressed air
Washing and wiping tools
– Microfiber cloth
– Warm water
– Mild dish soap or mild detergent
– Dry towel or second microfiber cloth
Optional spot-treatment and finishing
– Optional: isopropyl alcohol for stubborn residue, spot only
– Optional: a tiny amount of silicone lubricant, if the wheel still feels rough after cleaning and the manufacturer allows it
What to avoid:
– Bleach
– Harsh solvents
– Abrasive scrub pads
– Soaking the suitcase or flooding the wheel area
Cotton swabs are especially useful for axle seams and inside wheel housings, where hair and grit often collect. That last point is worth emphasizing. DELSEY’s care guidance recommends a soft brush or old toothbrush for dirt, sand, and hair, then mild soap and warm water on a microfiber cloth, while avoiding soaking the wheels and letting them air dry. That’s the safest baseline for most luggage wheels. DELSEY spinner wheel care guide
Quick comparison: which cleaning method fits the problem?
| Situation | Best approach | Why it works | Trade-off |
|---|---|---|---|
| Loose dust, hair, light grit | Dry brush first | Fast and safest | May not lift sticky grime |
| Mud or compacted dirt | Dry clean, then soap and water | Breaks up buildup without harsh chemicals | Takes longer and needs drying time |
| Sticky residue | Soap and water, then a small spot treatment of alcohol if needed | Alcohol can help with stubborn tacky spots | Must be used sparingly and may not suit all materials |
| Spinner wheels | Clean all sides and the housing | They collect grime from side-to-side movement | More seams to check |
| Inline wheels | Focus on tread and axle area | Dirt concentrates in the contact path | Less surface area, but buildup can be packed tighter |
Before You Start: Check the Wheel Type and How Dirty It Is
Not every wheel needs the same level of attention.
Spinner wheels usually pick up more grime around the swivel points and wheel housing because they rotate in every direction. Inline wheels, by contrast, tend to collect debris in a narrower contact path and around the axle. That means the cleaning motion is a little different: spinners need more attention around the edges and moving joints, while inline wheels often need more focus on the tread and the space around the axle.
Then look at the type of buildup:
- Loose dust or hair: dry cleaning may be enough
- Sand or grit: dry clean first, then wipe
- Mud or sticky residue: plan on a wet clean
- Squeaking or rough rolling: clean thoroughly before adding any lubricant
If the wheel is visibly cracked, wobbly, or grinding even when clean, that points more toward wear or damage than dirt. Cleaning can help with performance, but it cannot fix a worn bearing or bent mount.
Step 1: Remove Loose Dirt, Hair, and Grit Dry First
This is the step people skip, and it’s the one that saves the most trouble.
Turn the suitcase on its side or upside down so the wheels are easy to reach. Use a soft brush or old toothbrush to loosen dirt from the wheel tread, the seam where the wheel meets the housing, and any visible gaps around the axle. A dry brush works well because it lifts debris without turning it into muddy paste.
If hair or thread is wrapped around the wheel seam, work it out gently with the tip of a cotton swab or the edge of the brush bristles. Don’t yank hard. Hair often wraps around the axle or catches in the narrow gap between the wheel and housing, and force can push it deeper.
Compressed air can help with fine dust in tight spots, but use it carefully. Blow away from your face and avoid forcing debris deeper into the assembly.
EUME World’s maintenance advice also points to a soft brush or old toothbrush for visible debris before wiping the wheels with a damp cloth. That simple dry-first approach is the right starting point for most bags. Luggage wheel maintenance tip
Step 2: Clean the Wheels With Mild Soap and Warm Water
Once the loose debris is gone, move to a gentle wet clean.
Mix a small amount of mild dish soap or mild detergent with warm water. Dip a microfiber cloth into the solution, wring it out well, and wipe the wheels thoroughly. You want damp, not dripping. The goal is to clean the wheel surface and housing without sending water into seams, bearings, or fabric edges.
For more detailed spots, an old toothbrush dipped in the same solution can scrub around the wheel housing and across the wheel surface. Use a cotton swab or toothbrush to clean the seams, around the axle, and inside the wheel housing so you do not stop at the outer wheel surface. Traveler Choice recommends exactly that approach for the wheel area, and it’s a practical one because the brush reaches into the curved edge where dirt tends to hide. Traveler Choice luggage cleaning guide
Work in this order:
1. Wheel tread
2. Outer wheel edges
3. Wheel housing
4. Visible axle area
5. Any seam where dirt collects
If the suitcase has fabric near the wheel base, keep moisture light. Wipe the area, then move on. Do not soak the wheel assembly or let water pool under the bag.
For hard plastic wheels, this soap-and-water step is usually enough for routine grime. Rubberized or softer wheels may hold onto dirt a little more, so pay extra attention to seams and textured areas rather than scrubbing harder.
For most routine grime, soap and warm water are the safest general-purpose option because they lift everyday dirt without introducing aggressive chemicals that could affect plastic, rubber, or adhesive parts.
Step 3: Tackle Stubborn Grime, Sticky Residue, or Mud
If soap and water leave behind a tacky patch, spot-clean the residue rather than scrubbing harder.
A small amount of isopropyl alcohol on a cloth or cotton swab may help with stubborn sticky residue, especially from spilled drinks or road film. Use it only as a spot treatment after soap and water have failed on the residue, and test a hidden spot first if you’re unsure how the wheel material will react. It may not be suitable for all wheel materials, so keep it targeted and minimal. The point is to dissolve the residue, not soak the wheel.
For mud that has dried into the tread or housing, repeat the dry brush step before re-wetting the area. Dry mud often breaks apart better once the loose layer is removed. If you go straight in with a wet cloth, you can end up packing the grit into the seam.
A few practical rules help here:
– Use alcohol only on the problem spot
– Keep it off nearby fabric and finishes when possible
– Wipe the area clean after the residue lifts
– Don’t combine multiple harsh cleaners
If the grime is thick enough that you’re tempted to scrape with a knife or metal tool, stop. That’s usually how wheel surfaces get gouged.
Step 4: Dry the Wheels Completely
Drying is not the finishing touch. It’s part of the cleaning.
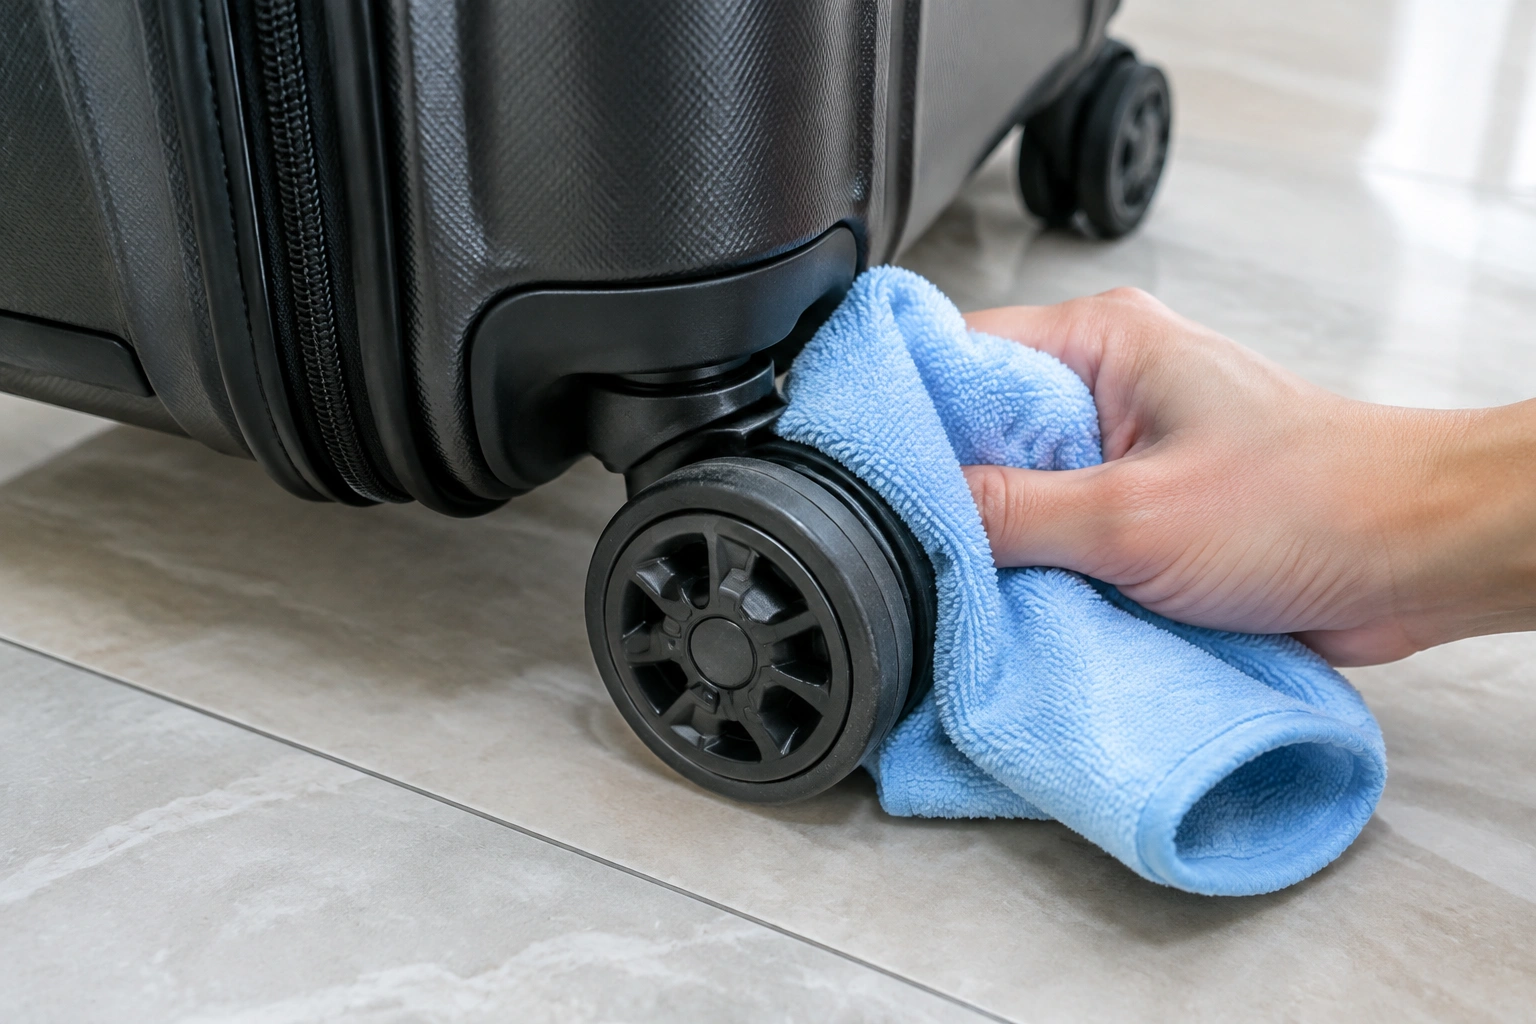
Use a dry microfiber cloth or towel to remove surface moisture from the wheel tread, axle area, and housing. Then let the luggage air dry before you store it or roll it again. DELSEY specifically recommends drying with a dry cloth and allowing the wheels to air dry, which is the safest way to avoid trapped moisture. Official wheel drying guidance
Why this matters:
– Moisture can trap new dirt
– Wet seams can smell stale later
– Damp wheel areas may roll poorly at first
– Water left in tight spaces can encourage corrosion in metal components
If you’re in a hurry, set the bag upright in a dry room and spin the wheels by hand once the visible water is gone. That helps expose any hidden damp spots. Just don’t put the suitcase away while the wheel area still feels cool or damp to the touch.
Step 5: Test the Roll and Add Lubrication Only If Needed
After the wheels are dry, give them a test roll on a hard floor.
You’re checking for three things:
– Smooth rotation
– No squeaking
– No grinding or wobble
If the wheel still feels stiff or noisy after cleaning, a tiny amount of silicone lubricant may help, but only if the luggage maker allows it. Apply it sparingly, and keep it off the tread and any brake components if present. Too much lubricant can attract dust and turn the wheel into a dirt magnet.
I treat lubrication as a last-mile fix, not a cleaning step. If the wheel rolls smoothly after washing and drying, leave it alone. If it still squeaks, the issue may be friction in the axle area or wear in the bearing rather than leftover dirt.
Common Mistakes to Avoid
A few habits cause more trouble than they solve:
- Soaking the suitcase: water can reach seams, fabric, and internal parts
- Using harsh chemicals: these can damage plastic, rubber, or nearby materials
- Scrubbing too hard: aggressive pressure can wear the tread or housing
- Skipping the axle area: hair and grit often hide there
- Over-lubricating: excess product attracts new dirt
- Rolling the bag before it’s dry: wet wheels collect grime fast
The biggest one is the “looks clean enough” mistake. Wheels often appear clean from the outside while hair and grit are still packed around the seam.
What to Do If the Wheel Still Sticks or Squeaks
If cleaning doesn’t fix the problem, diagnose the symptom before you keep adding products.
- Still sticky, but cleaner than before: there may be residue deeper in the housing
- Still squeaky after drying: a small lubricant test may help
- Still grinding or wobbling: likely a worn bearing, bent mount, or damaged wheel
- Rolls fine on one side but not the other: check for misalignment or hidden debris in the opposite wheel
At this stage, don’t keep flooding the wheel with cleaners. Repeated wet cleaning won’t fix a mechanical issue, and it can make the problem worse if moisture gets trapped.
When to See a Luggage Repair Specialist
If the wheel is cracked, loose, misaligned, or still dragging after a careful clean, it’s time to stop treating it like a dirt problem. Cracked, bent, or loose wheels usually need repair or replacement rather than repeated cleaning, especially if the wheel clicks, wobbles under load, or feels rough even when spun by hand.
A repair specialist can usually tell quickly whether the issue is a worn wheel, a bad bearing, or a damaged housing. In some cases, that’s a straightforward repair. In others, replacement is the more sensible option.
Should You Remove Luggage Wheels for Cleaning?
In most cases, no. Most readers should clean luggage wheels in place unless the manufacturer specifically says the wheels can be removed or the wheel is damaged enough that removal is part of the repair. Removing wheels can make cleaning more complicated and may create alignment or reassembly problems.
If you cannot reach a seam, axle area, or wheel housing while the wheel is attached, use a cotton swab or toothbrush instead of forcing removal. If the wheel is cracked, bent, or loose, that is usually a repair or replacement issue, not a routine cleaning job.
How Often to Clean Luggage Wheels and Prevent Future Buildup
There’s no single schedule that fits every traveler, but a practical routine works well:
- After a messy trip: clean right away
- After airport-only use: inspect and brush off debris
- After travel through rain, sand, or slush: do a deeper clean
- For regular commuters or students: check wheels periodically, especially if rolling over sidewalks, station floors, or campus paths
Prevention is mostly about reducing what gets packed into the wheel area:
– Brush off visible dirt before storing the bag
– Don’t put the suitcase away wet
– Check the seams around the wheels after trips with sand or mud
– Give spinner wheels extra attention, since they collect grime from more directions
A few minutes of maintenance can keep the wheels rolling smoothly and reduce the odds that dirt turns into a hard, sticky buildup later.