
How to Wash a Backpack by Hand Without Damaging It

A backpack picks up more than visible dirt. Sweat settles into straps, crumbs hide in seams, and grime collects around zippers, pockets, and the bottom panel. If you use the bag every day, those small buildups eventually turn into odor, stiffness, or stains that make the pack look older than it is.
Hand-washing is usually the safest way to clean a backpack at home, especially when you want to protect the fabric, shape, and finish. REI advises never to wash a pack in a machine or dry it in a dryer, and notes that lukewarm water and a soft brush or sponge are the safer tools for the job. For backpacks with leather trim, decorative patches, or protective coatings, hand care matters even more. REI’s backpack care guidance is a good reference point when you’re unsure how gentle to be.
If you want a quick answer: yes, most everyday backpacks can be washed by hand, but only after you check the care label and look closely at the materials. If the bag has leather panels, glued foam, special coatings, or delicate decorations, hand-washing may still be the right method, but only with a lighter touch.
Can You Hand-Wash a Backpack Safely?
Start with the care label, then check the materials before you decide how far to go.
Quick checklist:
– Read the care label first.
– Look for leather trim, glued foam, waterproof coatings, or non-removable structure.
– Check whether frames, inserts, or patches are designed to come out.
– If you see electronics, built-in lights, or permanently attached structure, avoid full submersion.
– If the bag is mostly nylon, polyester, or plain canvas and the label allows washing, hand-washing is usually reasonable.
Use this rule of thumb: if the care label allows washing, and the backpack is mostly nylon, polyester, or plain canvas, hand-washing is usually reasonable. If the bag has leather trim, heavy embroidery, iron-on patches, waterproof coatings, or a lot of foam structure, treat it as a delicate item and clean it as gently as possible. That does not always mean the entire pack is safe to fully submerge. A backpack can be safe to hand-wash in sections without being safe to soak.
Stop and choose spot cleaning only if:
– the label is unclear or says “spot clean only,”
– the bag has glued seams or glued foam,
– the backpack has waterproof coatings you want to preserve,
– there are electronics, lights, or non-removable structured parts,
– or the leather trim is extensive enough that soaking would be risky.
That caution is not overkill. Several gear-care sources note that hiking-style backpacks often have coatings that can be affected in a washer, and leather-trimmed bags should be washed by hand. Whirlpool and Seventh Generation both point out that hand-washing is the safer route for bags with those features. Whirlpool’s backpack washing guide and Seventh Generation’s care advice both reinforce the same basic idea: the more structure and special finish a pack has, the more you should avoid aggressive cleaning.
Spot clean or wash the whole thing?
Choose spot cleaning when:
– only one area is dirty,
– the bag smells fine,
– the fabric is delicate,
– or the backpack has leather trim or a protective coating you want to preserve.
Choose a full hand wash when:
– dirt is spread across the whole bag,
– the straps smell sweaty,
– the interior has crumbs and grime,
– or the backpack has a stale odor that wiping alone won’t fix.
A full wash is more work, but it clears dirt from seams and hidden corners. Spot cleaning is faster and safer for minor messes. If the bag looks clean except for a few marks, don’t turn a small issue into a bigger one.
What You’ll Need Before You Start
Keep the setup simple. You only need a few basics:
- mild detergent
- a small amount of dish soap, only if needed for a light spot and not as the default cleaner
- lukewarm water
- a soft brush or soft sponge
- a microfiber cloth
- a clean towel
- a basin, sink, or tub
- a second basin or bucket for rinsing
- a drying rack, clothesline, or clean surface that can support airflow while the bag dries
Db Journey recommends filling a basin or bathtub with lukewarm water and adding a little mild detergent. That’s the right level of restraint here: enough cleaning power to lift grime, not so much that you strip finishes or leave residue behind. Db Journey’s backpack care guide also stresses air-drying only, which matters later.
Avoid bleach, strong stain removers unless the label specifically allows them, and anything harsh enough to fade fabric or damage coatings. Mild detergent is usually the safer choice because it cleans without being aggressive. Dish soap can work for light cleaning, but use it sparingly so it doesn’t leave extra suds in seams and pockets.
Prep the Backpack: Empty, Unclip, and Shake Out Debris
Before water touches the bag, empty every pocket. Check the front organizer, side sleeves, secret zip pockets, and the bottom of the main compartment. Pens, coins, chargers, snacks, and paper scraps are the usual surprises.
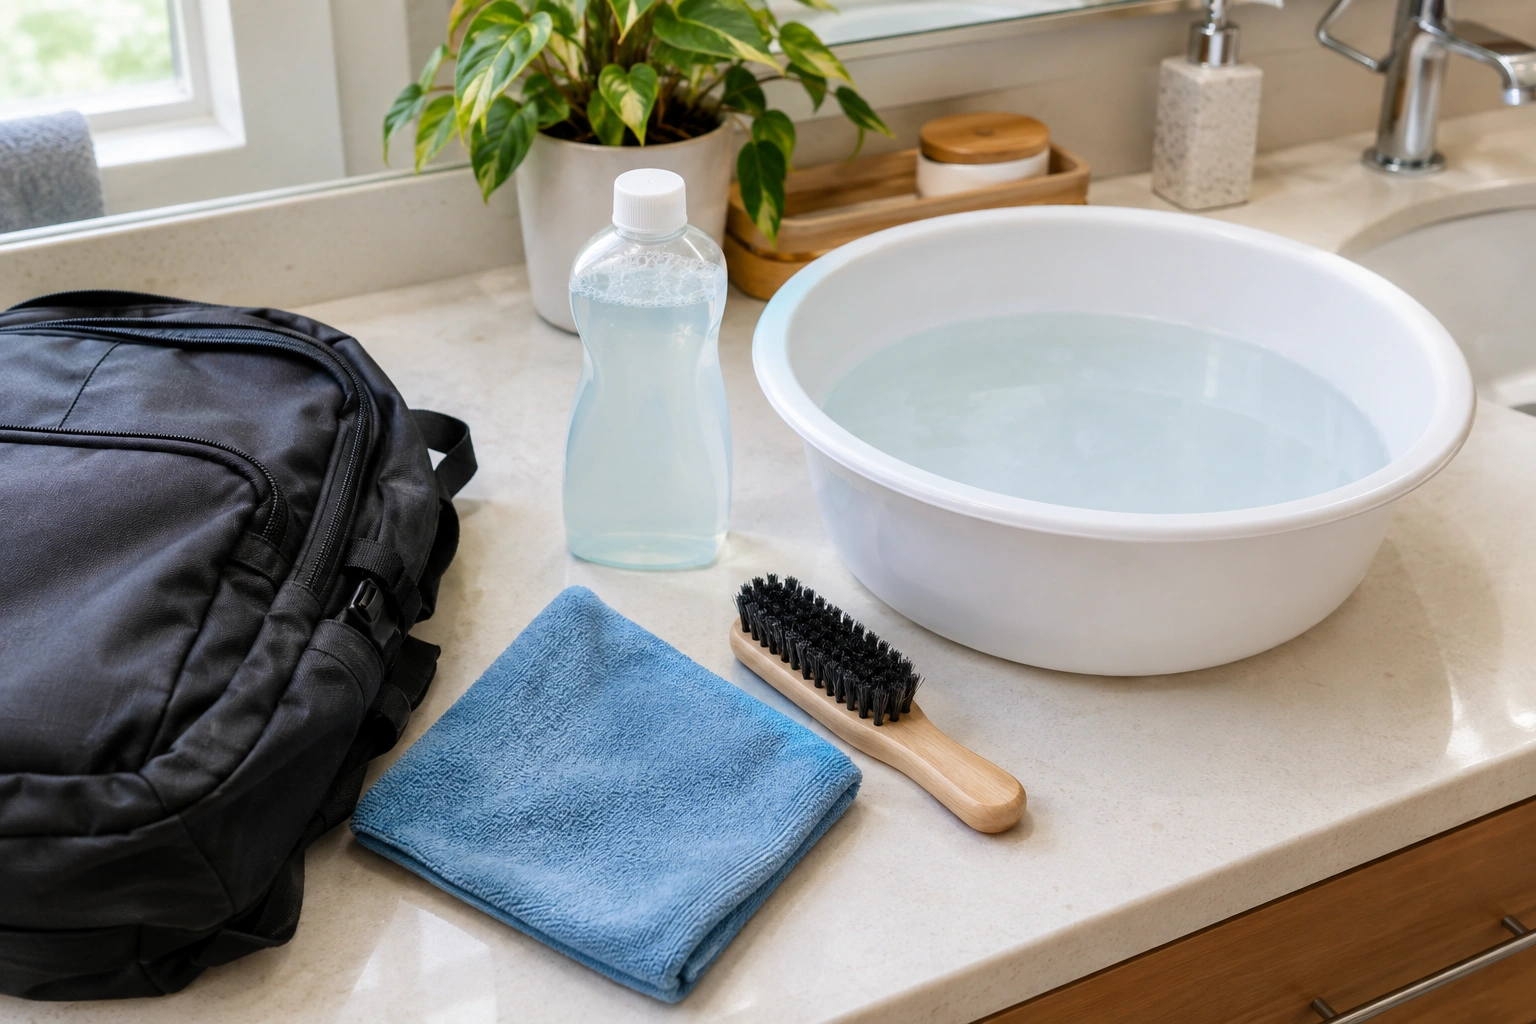
Electrolux recommends emptying the backpack and brushing off visible dirt before washing. That step matters because loose grit turns into muddy streaks once wet. Electrolux’s backpack cleaning guide gives the same practical first move: remove the debris before you wet the fabric.
If your backpack has removable parts, take them out first:
– frames
– inserts
– detachable pouches
– removable organizers
– loose patches or accessories, if they’re meant to come off
Only remove parts that are designed to come out. If a frame, insert, or patch is fixed in place, leave it alone.
For removable liners, take the liner out if it is meant to be removed, then clean it separately according to its own care label. If the liner is sewn in, treat it like part of the backpack and clean it gently in place.
Then turn the bag upside down and shake it out. Tap the corners gently to release crumbs from seams and lining folds. A quick pass with a handheld vacuum can help, but a brush and shake are usually enough.
How to Spot-Clean Stains, Odors, and Problem Areas First
A full wash is not always the best first move. If the problem is a coffee drip, a muddy bottom panel, or sweat marks on the straps, pre-treat those areas before soaking the whole bag.
For stains:
1. Mix a small amount of mild detergent with lukewarm water.
2. Dip a microfiber cloth or soft brush into the solution.
3. Blot or lightly rub the stain from the outside inward.
4. Work slowly so the stain doesn’t spread.
For odor:
– focus on the straps, back panel, and interior lining,
– wipe those areas with the same mild solution,
– and avoid soaking foam padding more than necessary.
For mildew or musty smells, clean gently and dry thoroughly. If you can see mold or mildew, use repeated gentle cleaning and extended drying rather than stronger chemicals. The smell usually comes from trapped moisture, so the real fix is careful washing followed by complete air-drying.
A useful trade-off
Spot cleaning protects delicate materials and water-resistant coatings better than a full wash. The downside is that it won’t remove dirt hidden in seams or lingering odor in the lining. If the backpack smells stale from daily use, a full hand wash is usually worth the extra time.
Step-by-Step: How to Wash a Backpack by Hand
Here’s the process I use when a backpack needs a proper reset but still has good structure.
1) Make the wash bath
Fill a basin, sink, or tub with lukewarm water. REI specifically advises lukewarm, not hot, water.
Add a small amount of mild detergent and mix it in. You want a light cleaning solution, not a bubble bath. Too much soap is one of the easiest ways to leave residue behind.
2) Check whether the backpack can be submerged
Before you soak anything, decide whether the bag is safe to fully submerge. If the care label says not to wash it, or if the backpack has glued seams, glued foam, electronics, non-removable structure, or extensive leather trim, skip full submersion and stick to spot cleaning or cloth-wiping only.
If the bag is safe to hand-wash but not safe to fully submerge, clean it section by section with a damp cloth or sponge instead of soaking it.
3) Submerge only if the bag can handle it
If the care label and material type allow it, place the backpack in the water and let it soak briefly. Keep the soak short. Long soaking can weaken glued areas, foam, and certain water-resistant finishes.
If the backpack has leather trim, delicate patches, or areas you want to keep dry, skip the soak and wash those zones with a damp cloth instead.
4) Clean the outside panel by panel
Use a soft sponge or microfiber cloth to wipe the exterior. Move across one section at a time:
– front panel
– sides
– bottom
– back panel
– top handle
If dirt is stuck in texture or weave, use a soft brush sparingly. REI’s advice here is worth following closely: use the brush lightly, not like you’re scrubbing a pan.
5) Clean the straps and back panel carefully
These areas collect sweat and body oils, so they often need the most attention. Work the cleaning solution into the straps with gentle strokes, then wipe them again with clean water. Don’t twist or wring padded straps hard; that can distort the foam inside.
6) Wash the inside
Turn the backpack inside out only if the construction allows it. Otherwise, open every compartment and wipe the lining with your cloth. Pay attention to corners, pencil slots, and the base of the main compartment, where dust and crumbs settle.
For interior pockets, open them fully and wipe each pocket wall with a damp cloth. If a pocket has a removable liner, clean the liner separately if it is designed to come out.
7) Clean zippers, buckles, and seams
Use the corner of a cloth or a soft brush around zipper teeth, buckle joints, and stitched seams. Dirt collects there because those spaces trap moisture and grit. Work slowly. Hard scrubbing can fray stitching or push grime deeper into the seam.
8) Treat stubborn spots without escalating
If a mark remains, repeat the mild solution on that spot rather than switching to a harsh cleaner. For many packs, a second gentle pass is safer than one aggressive pass.
How to Rinse Without Leaving Soap Behind
Rinse is where a lot of people rush, and that’s how backpacks end up sticky or stiff.
Use clean lukewarm or cool water to remove detergent from the fabric, straps, and seams. You can do this under a faucet, with a showerhead, or by dipping and re-dipping a cloth in clean water. The goal is to flush out soap, not flood the pack.
Pay extra attention to:
– zipper tracks
– pocket corners
– mesh sleeves
– strap webbing
– stitched seams
If the bag still feels slick after rinsing, there is probably detergent left in the fabric. Rinse again until the surface no longer feels soapy.
How to Dry a Backpack Correctly
Air-drying is the safe finish. Do not use a tumble dryer. Do not set the backpack on a radiator or heater. And don’t leave it in strong direct sunlight for hours, especially if the fabric is dark or the bag has printed panels.
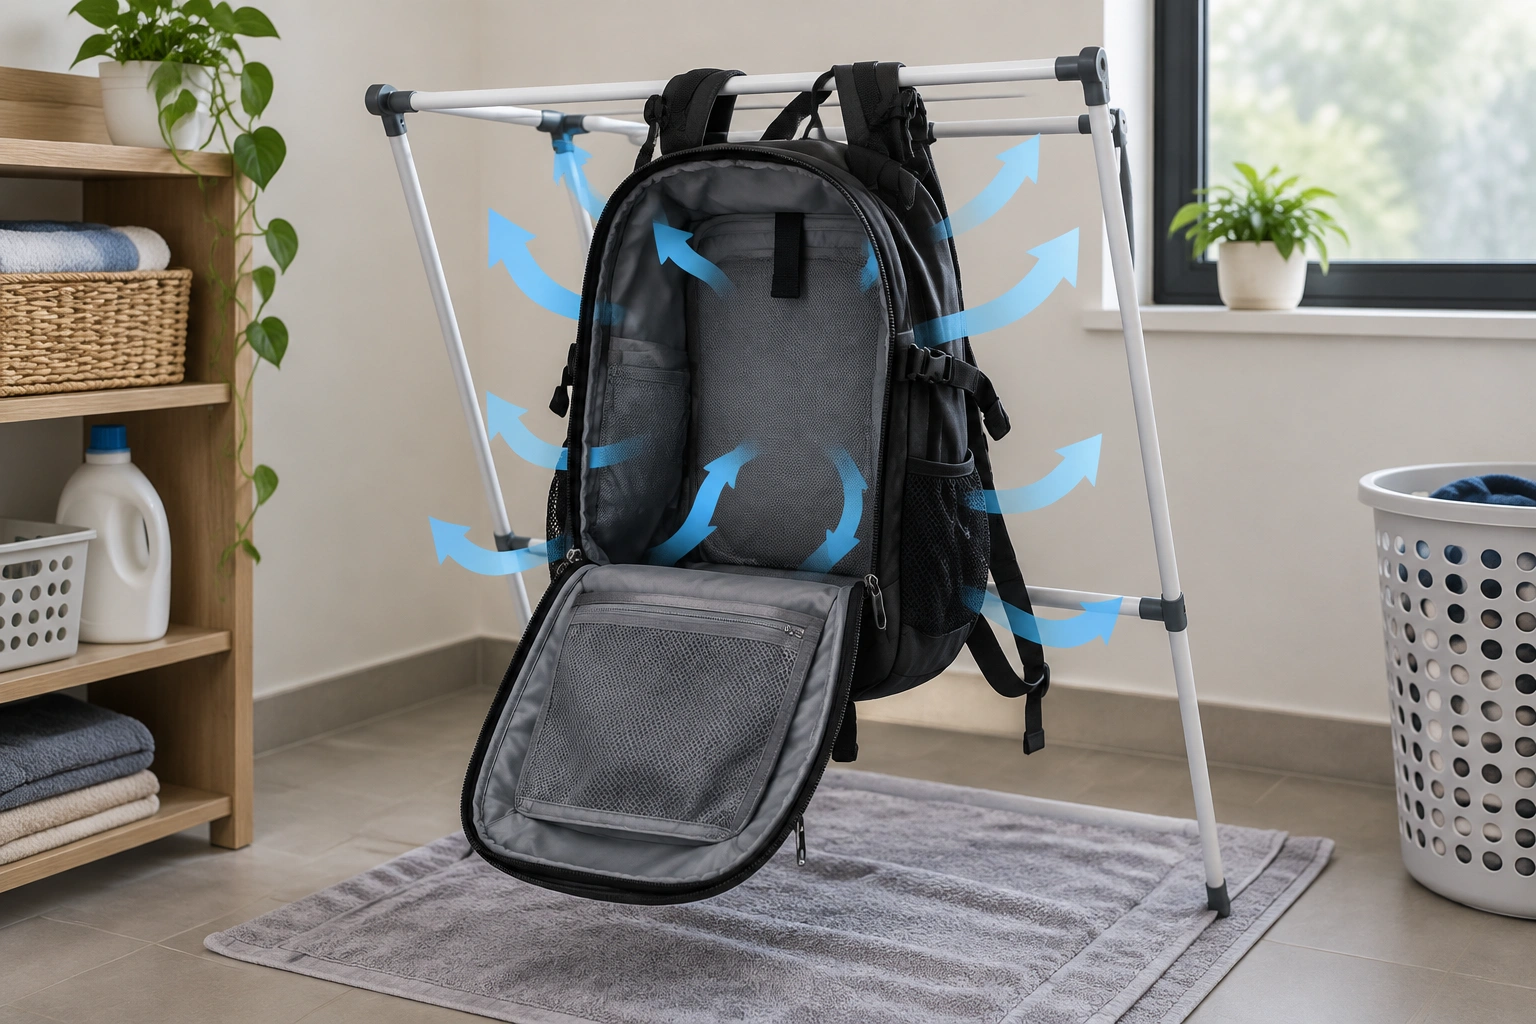
Db Journey specifically advises air-drying only and keeping the backpack away from the tumble dryer and direct sunlight. That’s good guidance for most everyday packs. Db Journey’s drying advice is especially useful if you’re trying to preserve shape and color.
Drying setup that works
- Press out excess water with a clean towel.
- Open all zippers and pockets.
- Hang the backpack upside down or place it on a drying rack.
- Keep it in a well-ventilated room.
- Let air move through the interior.
Drying time varies by material and construction. A thin nylon pack may dry overnight or within about 12 to 24 hours in good airflow. Thicker padding, canvas, lined packs, and water-resistant coatings can take longer, sometimes closer to 24 to 48 hours or more. If the backpack has thick padding, expect it to take longer than a thin daypack. The important thing is not speed; it’s complete dryness. Putting a damp backpack back into service invites mildew and that sour smell that never quite goes away.
Special Care for Different Backpack Materials
Nylon and polyester
These are usually the easiest to hand-wash. They tolerate gentle cleaning well and dry relatively fast. Still, avoid hot water and aggressive scrubbing, especially on coated or water-resistant versions.
Canvas
Canvas can handle hand-washing, but it can also hold onto water and dry slowly. Clean it gently and be patient during drying. If the bag has colored canvas, test a hidden spot first because dyes can behave differently from one pack to another.
Waterproof-coated or water-resistant packs
These need the most caution. Clean them with mild detergent, a soft cloth, and minimal soaking. Avoid scrubbing hard on coated areas, and spot clean when possible if the coating is part of the bag’s protection. If the pack is heavily coated, spot cleaning may be the better choice for routine messes.
Padded backpacks
Foam padding makes straps and back panels comfortable, but it also makes the bag slower to dry. Keep water exposure controlled and never store the bag before the padding is fully dry. If the padding is glued in place, avoid full submersion and use a damp cloth instead.
Leather-trimmed backpacks
Leather or leather trim should always be treated carefully. Seventh Generation and Whirlpool both flag leather-trimmed bags as hand-wash only. Clean around the leather with a damp cloth and avoid soaking the leather itself. If the trim is extensive or decorative, spot cleaning may be the safer route overall.
Decorative patches and appliqués
If the patch is sewn on securely, clean around it with a soft cloth and light pressure. If it is glued, ironed on, or peeling, do not scrub it or soak it. Spot clean only.
Common Mistakes to Avoid
The biggest mistakes are usually the simplest ones:
- using hot water
- overloading the detergent
- scrubbing too hard
- soaking too long
- washing without checking the care label
- drying with heat
- storing the bag while damp
Troubleshooting: What to Do If the Backpack Still Smells, Feels Sticky, or Looks Dirty
If the pack still smells after washing, the odor is usually trapped in straps, seams, or padding. Wash those zones again with a mild solution and give the backpack more drying time in open air.
If it feels sticky, soap residue is the likely cause. Rinse again with clean water until the surface feels normal.
If stains remain:
– repeat spot treatment,
– use a soft brush lightly,
– and avoid switching to harsher chemicals right away.
If mildew is still visible, clean the affected area again and dry the backpack in a warmer, well-ventilated room with better airflow. Visible mold or persistent mildew may take repeated gentle cleaning and extended drying to resolve. The goal is to remove moisture completely, not just make the surface look dry.
Practical Examples: When to Spot Clean vs Wash the Whole Backpack
A student backpack with a few pencil marks and snack crumbs usually needs spot cleaning plus an interior wipe. A full wash would be more effort than the mess deserves.
A commuter nylon backpack with sweat on the straps and a stale odor is a better candidate for a full hand wash. The smell is usually coming from multiple surfaces, not just one visible patch.
A canvas backpack with dirt on the bottom panel can often be cleaned with a gentle wash of that area alone. If the rest of the bag is fine, there’s no reason to soak everything.
A leather-trimmed daypack should usually be cleaned conservatively. If the body of the bag is dirty but the leather is presentational trim, clean around it and avoid full soaking unless the care label clearly supports it.
When to See a Luggage Repair Specialist
If the backpack has broken seams, peeling coatings, damaged foam, or a zipper that already sticks before washing, cleaning won’t solve the underlying issue. In those cases, a luggage repair specialist can tell you whether the bag is worth restoring or whether the damage is too far along. That’s especially useful for travel packs and higher-end bags where structure matters as much as appearance.
For more care guides, see our backpack cleaning guide and the broader backpack and luggage care category.