
How to Clean Luggage After Storage: A Practical Step-by-Step Guide

If a suitcase has been sitting in a closet, basement, attic, or garage for months, the fix is usually not dramatic. What it needs is a careful reset: remove dust, check for moisture damage, clear out odors, and clean the parts that collect grime when nobody is looking. That approach protects the bag and tells you quickly whether it is ready for another trip or needs more work.
A suitcase does not need a deep clean after every trip, but it should not go straight from storage back into service either. Dust, grime, food crumbs, hair, and moisture build up faster than most people notice. That matters because the inside of a suitcase is a porous surface, so smells and residue tend to linger there longer than they do on the outside. A good first pass is usually a vacuum or dust buster, especially in corners and tight areas, before moving to any wet cleaning. For the broad “wipe, don’t soak” approach, Level8’s luggage care guide and Traveler’s Choice’s material-specific instructions line up with what I see in repairs: mild soap, soft tools, and full drying solve most storage problems.
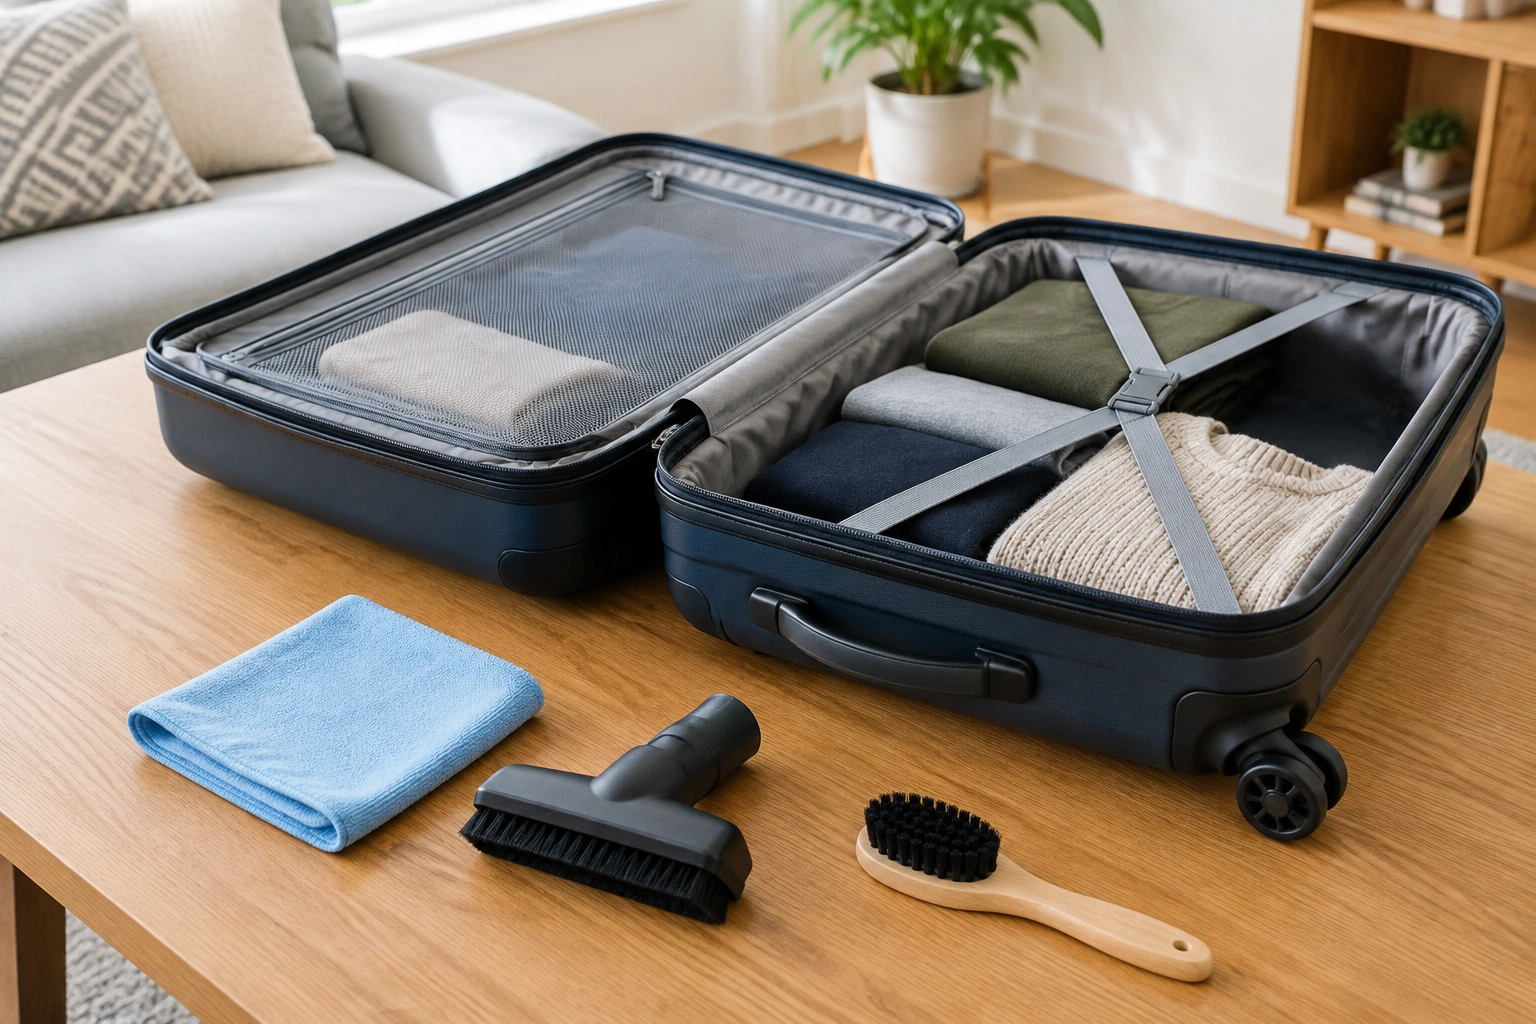
What You’ll Need Before You Start
Keep the kit simple. You are not trying to strip the luggage; you are trying to clean it safely.
- Vacuum with a brush attachment or a small dust buster
- Microfiber cloths
- Soft brush or clean toothbrush
- Mild dish soap
- Bowl of warm water
- White vinegar, if needed for odor or mildew treatment
- Baking soda or activated charcoal for odor absorption
- Disinfecting wipes for hard surfaces and handles
- Gloves
- Optional: mask, if you suspect mold or heavy dust
If your bag has a manufacturer care label, read it before you add any liquid. That matters more than most people think. A coated shell, a delicate printed lining, and a heavily textured fabric panel can all react differently to the same cleaner.
Check the Luggage First for Mold, Damage, and Pests
Open the suitcase fully and inspect it before cleaning. I look at four places first: corners, seams, pockets, and the wheel housings. Those are the spots where moisture, dust, and bugs hide.
Use this quick decision rule:
- Light refresh: only dust, faint smell, no visible spots
- Deeper cleaning: sticky residue, visible grime, or a strong musty odor
- Do not clean at home yet: visible mold, wet insulation, pest activity, or broken lining
If you find pests, droppings, eggs, or live insects, stop and isolate the bag before cleaning. Seal it in a plastic bag or bin, take it outside if possible, and empty it over a trash bag so you do not spread debris indoors. Then vacuum the loose material from a safe distance, discard the vacuum contents immediately, and clean only once the bag is clearly free of active pest contamination.
If you see fuzzy spots, dark staining that spreads beyond the surface, or a smell that returns after airing out, treat it as a moisture problem, not just a dirt problem. Wear gloves and a mask if mold is present, and do not scrub it dry indoors. That can spread spores.
One practical note on storage pests: Eagle Creek advises keeping luggage in a clean, cool, dry place and avoiding bedroom storage when possible. If you must bring stored luggage indoors, bagging and sealing it first helps reduce the chance of bugs escaping. That is a sensible precaution if the bag came from a basement, garage, or attic.
Dry-Clean the Luggage First: Vacuum, Brush, and Air It Out
This is the part many people skip, and it is the part that saves the most time.
For the interior
- Open every compartment.
- Shake out loose dust or crumbs over a trash bin.
- Vacuum the lining with a brush attachment.
- Use the small nozzle on seams, corners, and pocket edges.
- Brush out lint from zipper tracks and folds.
For fabric-lined luggage, vacuuming first is the safest move because it removes dry debris before moisture turns it into paste. For soft-sided bags, a soft brush helps lift dirt from textured fabric without grinding it deeper.
If your luggage has removable liners, inserts, or detachable pockets, pull them out and check for hidden moisture before you clean. A piece can feel dry on the outside while still holding dampness in a fold, seam, or backing layer.
For the exterior
Wipe off loose dust with a dry microfiber cloth before using any cleaner. That keeps grit from scratching hard shells or rubbing into coated fabric.
Then let the bag air out with all compartments open. If it smells stale but shows no visible contamination, sometimes 24 hours of open-air ventilation does more than a bottle of cleaner. The goal here is to remove the old air trapped in the bag before you try to remove the smell itself.
How to Clean the Interior Without Overwetting It
The inside of luggage is where people overdo it. Foam-backed liners, stitched seams, and pocket panels can hold moisture longer than the surface looks.
Use this method instead:
- Mix a few drops of mild dish soap into warm water.
- Dampen a microfiber cloth, then wring it out well.
- Wipe the lining in sections.
- Use a soft brush for seams and pocket corners.
- Follow with a second cloth dampened only with clean water.
- Blot dry with a clean towel.
Do not pour cleaner directly into the bag. Do not soak the lining. If water gets into foam or backing material, the outside may feel dry while the inside stays damp for days.
For coated interiors, keep the cleaning light and avoid abrasive scrubbing so you do not wear down the finish. For fabric interiors, focus on lifting dirt and blotting moisture rather than saturating the weave. A hidden spot test is smart on either type if you are unsure how the material will react.
For cosmetic stains, a spot-cleaning approach is usually enough. A general luggage-care guide may recommend soap and water first, then a stain remover if the mark needs more help. I would only use a stronger stain product on a hidden spot first, because some liners bleed color or lose their finish.
If the interior smells musty but is not visibly dirty, skip heavy scrubbing and move to odor treatment after the first wipe-down.
How to Clean the Exterior by Luggage Material
Hard-shell luggage
Hard-shell bags are the easiest to refresh, but they can show scuffs and residue more clearly.
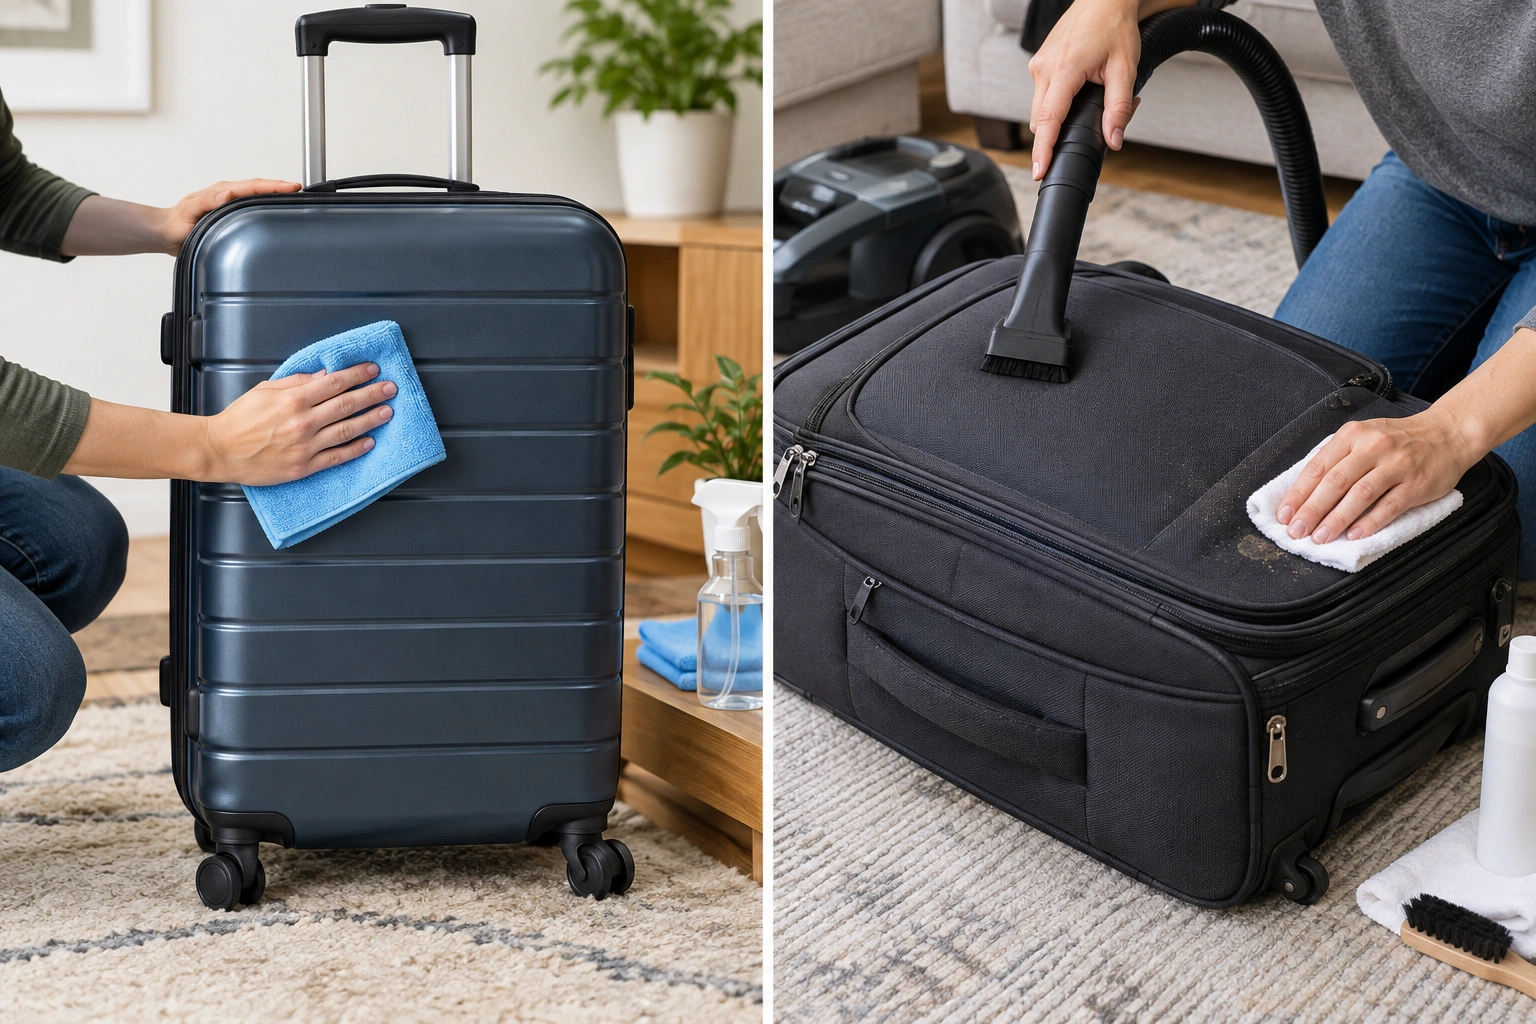
Use a microfiber cloth with mild dish soap and warm water. Wipe in straight passes rather than scrubbing in circles. For stubborn scuffs, a soft sponge or cleaning eraser can help, but use light pressure. Delsey’s care guidance, like other luggage-care advice, generally points toward avoiding abrasive cleaners on hard shells and drying with a microfiber cloth to help prevent mildew.
If the shell has a glossy finish, test any cleaner on a hidden corner first. Some finishes look fine while wet and then dull after they dry.
For disinfecting wipes, use them only on hard-shell exteriors and handles, not on fabric panels or porous lining.
Soft-sided luggage
Soft-sided luggage usually needs a gentler, more targeted approach.
Vacuum first, then spot-clean with a soft brush and diluted detergent. Work on small sections and avoid saturating the fabric. That gives you control over the stain without soaking the padding underneath.
This is the trade-off: soft-sided bags can hide dirt better than hard shells, but they also absorb odors and moisture more readily. If the bag was stored in a humid space, expect the interior to need more attention than the exterior.
Fabric luggage
For woven or fabric-heavy luggage, think “lift and blot,” not “scrub and rinse.”
Use a damp cloth, mild soap, and a soft brush only where needed. If the fabric has a coating, keep cleaning light so you do not wear down that layer. Let the fabric dry fully before judging whether the stain is gone; damp fabric often looks darker until it is completely dry.
Hard-shell, soft-sided, and fabric luggage all clean a little differently: hard shells can usually handle a wipe-down, soft-sided bags need more spot-cleaning, and fabric luggage needs the lightest touch to protect the weave and any coating.
How to Remove Musty Odors After Storage
Odor removal works best when you pair it with drying and ventilation. If you only mask the smell, it often comes back when the bag warms up.
Here is the simplest way to choose:
| Problem | Best first move | Trade-off |
|---|---|---|
| Faint stale smell | Air out with compartments open | Slow, but safest |
| Mild musty odor | Baking soda or activated charcoal | Takes time, but low risk |
| Smell from damp storage | Clean first, then use odor absorber | More steps, but better results |
| Persistent sour or earthy smell | Check for mildew or hidden moisture | May require deeper cleaning |
Baking soda
Baking soda is useful when odor is the main issue and the bag is otherwise clean. Put an open box or a shallow bowl inside the suitcase, or sprinkle a light layer into a fabric pouch and leave it in the bag overnight or longer. It is gentle, but it works slowly.
Activated charcoal
Activated charcoal is usually my preference for a stubborn storage smell because it absorbs odor without adding moisture. It is especially useful in a closed compartment or a checked bag that sat untouched for a long time.
White vinegar
White vinegar can help with some odors and light mildew cleanup, but it is not the first thing I reach for on every luggage material. Use it diluted, test a hidden area, and avoid overusing it on delicate finishes or areas with adhesive-backed trim. Vinegar is a tool, not a universal fix.
If the odor improves after airing but returns when the bag is closed, moisture is still trapped somewhere. Keep it open longer before you pack anything inside.
How to Treat Mildew or Mold Safely
Treat mildew as a warning sign, not a cosmetic issue.
Tiny surface mildew spots can sometimes be cleaned at home if the material is sound and the problem is limited. Wipe the area with a cloth dampened with mild soap and water, then dry it immediately. If the material allows it, a diluted vinegar solution can be used as a follow-up on a small patch, but only after a spot test.
Stop the DIY process if you see widespread spotting, a recurring musty odor after cleaning, hidden contamination in seams or padding, or any sign that the mold is deeper than the surface. That includes soft-sided bags where the backside of the lining, pocket folds, or base panel may be affected. In those cases, scrubbing can spread contamination instead of solving it.
If the bag has:
– widespread spotting,
– a strong damp odor after cleaning,
– warped backing,
– or visible contamination that keeps returning,
then the bag may be beyond practical home cleaning. At that point, replacement is often the safer choice.
How to Clean Zippers, Wheels, Handles, and Telescoping Parts
These parts hold onto grime because they move and collect residue in joints.
Start with the zippers. Wipe the zipper tape and teeth with a damp cloth, then use a soft brush or clean toothbrush to clear dirt from the teeth and slider area. If the zipper feels sticky, clean it before forcing it open or shut. A tiny amount of dry lubricant can help if the manufacturer allows it, but do not use oils that attract more dust.
For wheels, turn the bag over and remove hair, lint, and grit from around the wheel housings first. A cotton swab, toothbrush, or tweezers can help with packed debris. Wipe the wheels with a damp cloth, then dry them well so moisture does not sit in the bearings or axle area.
For handles, wipe the grip and the exposed metal or plastic surfaces with a damp cloth. If you use a disinfecting wipe, keep it to hard handles only and avoid getting liquid into seams or fabric trim. Dry the handle afterward so residue does not build up.
For telescoping tracks, extend the handle fully and wipe the visible rails, channels, and joints. Use a soft brush to loosen dust from the grooves, then wipe again with a barely damp cloth. If the handle still catches, there may be dirt deeper in the track or corrosion from storage moisture. Clean what is reachable, but do not flood the mechanism. It may not glide perfectly right away, and forcing it can make the problem worse.
Dry the Luggage Completely Before Using or Storing It Again
This step is non-negotiable. A bag that still feels slightly damp can smell fine today and mildew by next week.
Open every compartment and leave the luggage in a well-ventilated room. If possible, position it near moving air, but not directly against high heat. Heat can warp shells, shrink adhesives, or set some stains.
A practical drying rule:
– Light wipe-down: leave open until every surface feels fully dry to the touch
– Deeper cleaning: give it a full day, and longer if seams or padding were damp
– Odor or mildew treatment: wait until the smell is gone in a closed state, not just when open
Before you put it away again, store it in a cool, dry place away from direct sunlight. Carl Friedrik’s luggage care advice also recommends zipping the bag shut to keep dust out and using dust bags if you have them.
Common Mistakes to Avoid When Cleaning Stored Luggage
The most common damage I see comes from trying to clean too aggressively.
Avoid these mistakes:
- soaking the lining or shell
- using abrasive powders or harsh scrub pads
- cleaning only the outside and ignoring pockets, seams, and wheel areas
- storing the bag again while it still smells damp
- mixing cleaners because the first one did not work fast enough
- assuming a wiped-down shell means the interior is clean too
A quick refresh is fine when the problem is light dust. Once you have visible grime, odor, or mildew, you need a slower, more complete pass.
Troubleshooting: What to Do If Odor, Stains, or Mold Remain
If the smell remains after cleaning, check whether the interior is actually dry. Moisture trapped in padding often smells worse after the outer surface looks clean.
If stains remain:
1. Reclean the spot with mild soap.
2. Blot, do not scrub.
3. Try a material-safe stain remover only on a hidden area first.
4. Stop if the fabric starts to fuzz, fade, or peel.
If mold remains:
– clean only small areas at home
– keep the bag open and dry
– do not seal it in a closet while it still smells musty
– stop if the contamination spreads or keeps returning
At that point, cleaning may be less effective than replacement.
When to See a Luggage Repair Specialist
Call a repair specialist if the bag is structurally sound but has a problem you cannot solve safely at home. That includes broken zippers, damaged wheel mounts, a telescoping handle that sticks, or a lining that is separating but still salvageable.
A repair shop is also the right next step if the shell is cracked, the frame is bent, or the contamination is limited to one removable component. If the damage is local, repair is often more practical than replacing the whole bag.
When Luggage Is Beyond Cleaning
Some luggage is not worth the effort.
Replace it if:
– mold is widespread or keeps returning
– the interior lining is heavily contaminated
– the shell is cracked or warped
– the wheels or handle are failing
– the odor survives repeated cleaning and drying
– the bag was stored while wet and never fully recovered
That is the hard truth from the repair bench: a clean-looking bag is not always a safe or usable bag. If the structure is failing or the contamination is persistent, replacement is the smarter move.