
How to Clean Suitcase Handles Without Damaging the Grip or Mechanism

Suitcase handles collect more than people expect. Hands leave behind skin oils, sunscreen, lotion, food residue, and the grime that comes from train stations, airport floors, and ride-shares. On a rolling bag, the handle is also one of the few parts you touch every time you move the case, so it makes sense to keep it clean without overdoing it.
The trick is not using the strongest cleaner you own. It’s matching the method to the handle material and being careful around moving parts. A hard plastic handle can usually take a simple soap-and-water wipe. A leather-wrapped grip needs gentler treatment. A telescoping handle needs minimal moisture so you don’t push liquid into the mechanism.
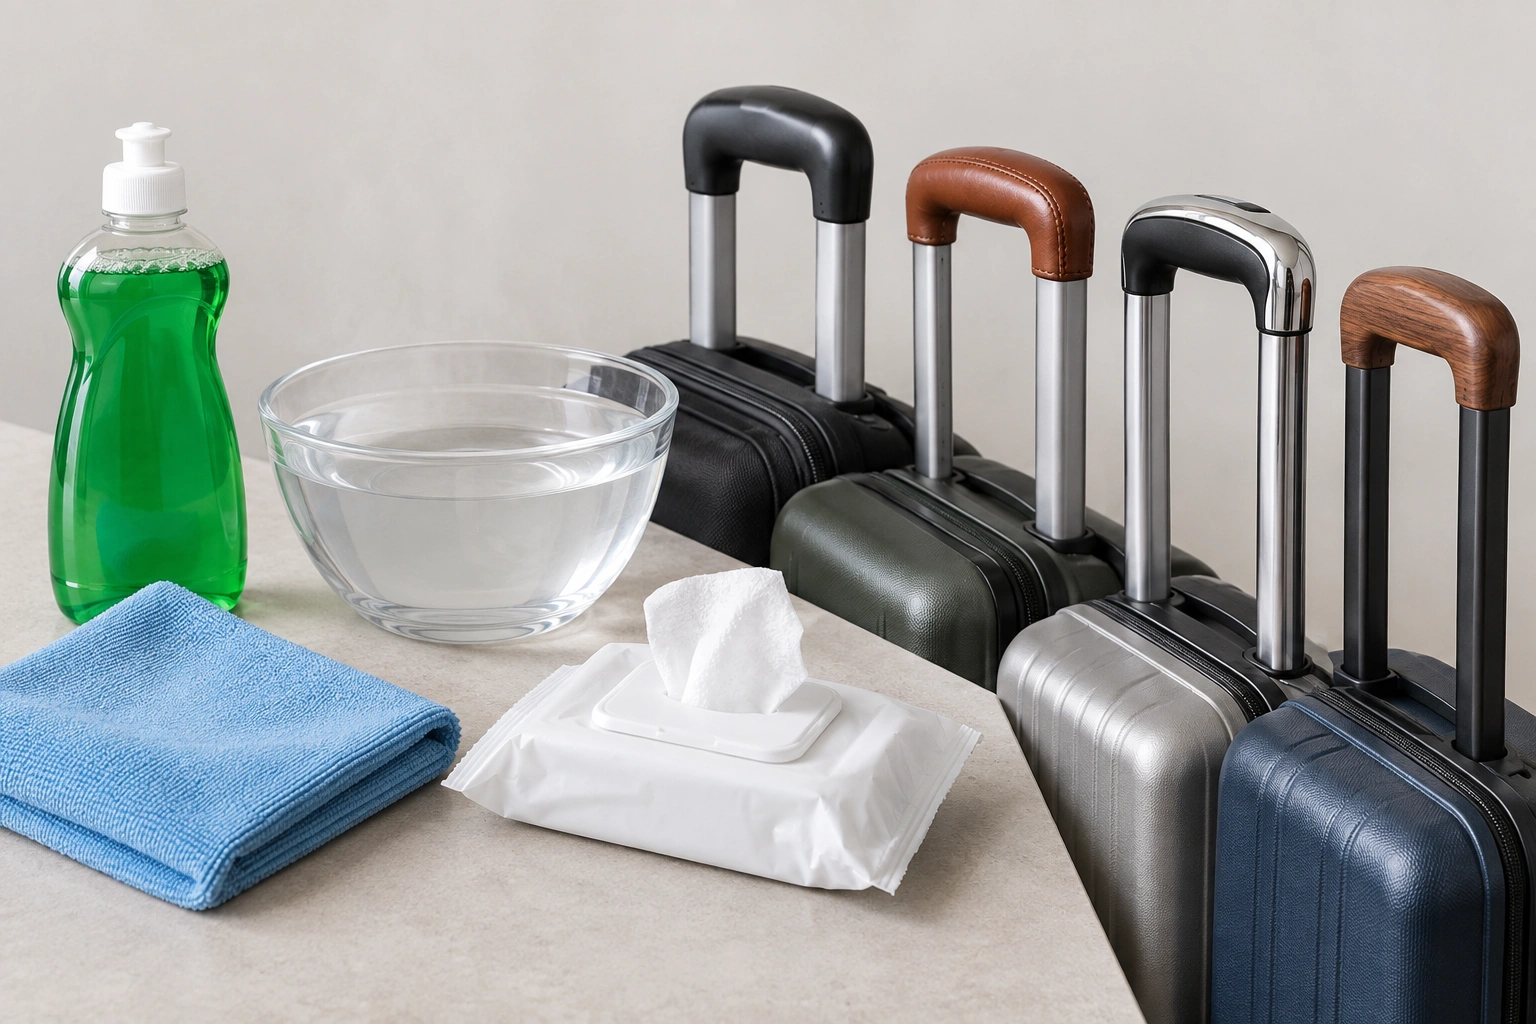
Quick Material Reference: What to Use and What to Avoid
Use this as a fast guide before you start:
- Plastic: Use mild dish soap, warm water, microfiber cloth, and, if needed, a disinfecting wipe for hard, non-coated surfaces. Avoid abrasive pads, bleach, and soaking.
- Rubber: Use mild soap and water, then dry fully. Avoid harsh solvents and strong cleaners that can leave the grip tacky.
- Metal: Use a lightly damp cloth with mild soap, then dry right away. Avoid excess moisture near joints, rails, and the button mechanism.
- Leather: Use a leather cleaner made for luggage or accessories. Avoid isopropyl alcohol, disinfecting wipes, bleach, and soaking.
- Faux leather: Start with a hidden spot test and a lightly damp cloth. Avoid isopropyl alcohol and disinfecting wipes unless the care label specifically allows them.
- Fabric-covered handles: Spot-clean with mild soap and minimal moisture. Avoid soaking, alcohol, and disinfecting wipes unless the manufacturer says the fabric can handle them.
If you want a broader luggage-care routine after this, I also cover related cleaning basics in how to clean a backpack, since many of the same “use less liquid, dry thoroughly” rules apply.
What You Need to Know Before Cleaning Suitcase Handles
Before you wipe anything down, identify what you’re actually cleaning.
Handle material matters more than people think
A suitcase can have more than one handle type:
- Hard plastic or molded resin handles: common on many rolling suitcases and carry-ons
- Rubberized grips: often used for comfort and traction
- Metal telescoping handles: the pull-up handle on spinner and rolling luggage
- Leather or faux leather wraps: usually on premium bags or top handles
- Fabric-covered handles: stitched or wrapped grips on softside luggage
Each surface reacts differently to water, soap, alcohol, and scrubbing. That’s why a one-size-fits-all method causes trouble. What cleans a plastic grip safely can dry out leather or leave streaks on a glossy finish.
Decide whether you need cleaning, disinfection, or both
Not every handle needs a disinfectant. If the handle just feels dusty or slightly grimy, soap and water are usually enough for routine cleaning. If the bag has been through airports, public transit, hotels, or shared storage, a disinfecting wipe can make sense for high-touch areas.
A practical rule:
- Visible dirt or stickiness = clean first
- Regular travel use = clean and then disinfect if the material allows it
- Leather or delicate wraps = use a material-safe cleaner, not a random disinfectant wipe
That matches the general approach luggage-care guides recommend for high-touch areas: clean first, then disinfect only when the material can tolerate it.
Tools and Materials for Safe Handle Cleaning
You do not need a cabinet full of products. A small, material-safe kit is better.
Keep these basics on hand
- Microfiber cloths or soft cotton cloths
- Warm water
- Mild dish soap
- Disinfecting wipes for suitable hard surfaces
- Leather cleaner for leather grips
- A soft brush or cotton swab for crevices
- A dry cloth for finishing
For most plastic, rubber, and metal handles, a microfiber cloth with warm water and a drop of mild soap is enough for routine cleaning. A soft cloth is less likely to scratch than a rough scrub pad.
What to avoid
Skip anything that can damage finish or leave residue:
- Abrasive scrubbers
- Melamine sponges on delicate or glossy handle surfaces
- Bleach
- Strong all-purpose sprays near seams or joints
- Soaking the handle or spraying directly into the telescoping mechanism
How to Clean Plastic, Rubber, and Metal Suitcase Handles
For most rolling luggage, this is the routine method you’ll use most often.
Plastic and rubber grips
Hard plastic and rubberized handles usually handle simple cleaning well.
1. Mix a mild cleaning solution
Use warm water with a small amount of mild dish soap. You want a lightly soapy cloth, not suds dripping everywhere.
2. Wipe the grip with a damp cloth
Dampen the cloth, wring it out well, and wipe the handle surface. Work from the cleanest area to the dirtiest area so you don’t spread grime back across the handle.
3. Use a second cloth for stubborn spots
If you find a greasy patch from hand lotion or sunscreen, go back over it with a fresh cloth and a little more soap solution. Don’t scrub hard. If the dirt doesn’t move, it’s usually better to repeat a gentle wipe than to attack the surface.
4. Wipe away soap residue
A second pass with a cloth dampened in clean water helps remove film left by soap. That matters on rubberized grips, which can feel tacky if residue is left behind.
5. Dry the handle fully
Use a dry cloth right away. Then let the handle air-dry before storing the suitcase.
Metal telescoping handles
Metal telescoping handles need extra caution because moisture can collect around the rails, joints, and release button.
1. Extend the handle fully
Pull the telescoping handle all the way up before cleaning. That gives you access to the sections that usually get missed: the shaft, the joints, and the area where the handle slides back into the case.
2. Clean with a barely damp cloth
Use a cloth lightly dampened with warm water and a small amount of mild soap. Wipe the exposed metal surface, but do not spray liquid directly onto the rails or button mechanism.
3. Clean crevices separately
Use a cotton swab or soft brush for narrow gaps around the button and seams. Keep liquid out of the moving parts as much as possible.
4. Dry immediately
Wipe the handle dry right away, especially around the joints and the area where the handle retracts into the case. Then let it air-dry before collapsing it.
5. Check the motion
Extend and retract the handle a few times. If it feels rough, gritty, or uneven, there may still be debris in the rails or around the release button. Wipe again with a clean cloth rather than adding more cleaner.
How to Clean Leather, Faux Leather, and Fabric-Covered Handles
Delicate grips need a lighter touch.
Leather handles
Use a leather cleaner made for luggage or accessories, following the product label. Apply it to a cloth first, not directly to the handle. Wipe gently, then buff with a dry cloth.
Do not soak leather. Too much water can darken it, stiffen it, or leave a blotchy finish. If the grip is cracked or worn, keep the cleaning even gentler; aggressive wiping tends to catch on damaged edges.
Faux leather handles
Faux leather often tolerates gentle cleaning, but it can still discolor or peel if you use the wrong product. Test a small hidden area first. If the finish looks unchanged after a few minutes, continue with a lightly damp cloth and mild soap, then dry immediately.
Avoid isopropyl alcohol and disinfecting wipes unless the manufacturer’s care instructions specifically say the finish can handle them. On coated or soft-touch faux leather, alcohol can dull the surface or weaken the coating.
Fabric-covered handles
Fabric grips can trap sweat and grime, but they also absorb too much liquid if you soak them. Spot-clean with a cloth barely dampened with warm water and a small amount of mild soap. Dab, don’t scrub.
If the fabric is stitched onto padding, use even less moisture near the seams. A soft brush can help lift dirt from the surface weave, but keep the pressure light.
How to Clean Telescoping Handle Joints and Crevices
This is where most handle grime hides.
Work around the joints, not into them
The button, rails, and seams around a telescoping handle collect grit from hands, dust, and travel debris. Use a cloth lightly dampened with soap and water, then a cotton swab for narrow gaps.
The important part is restraint. Too much liquid can seep into the mechanism, and that’s the kind of mistake that creates sticking, residue, or corrosion later.
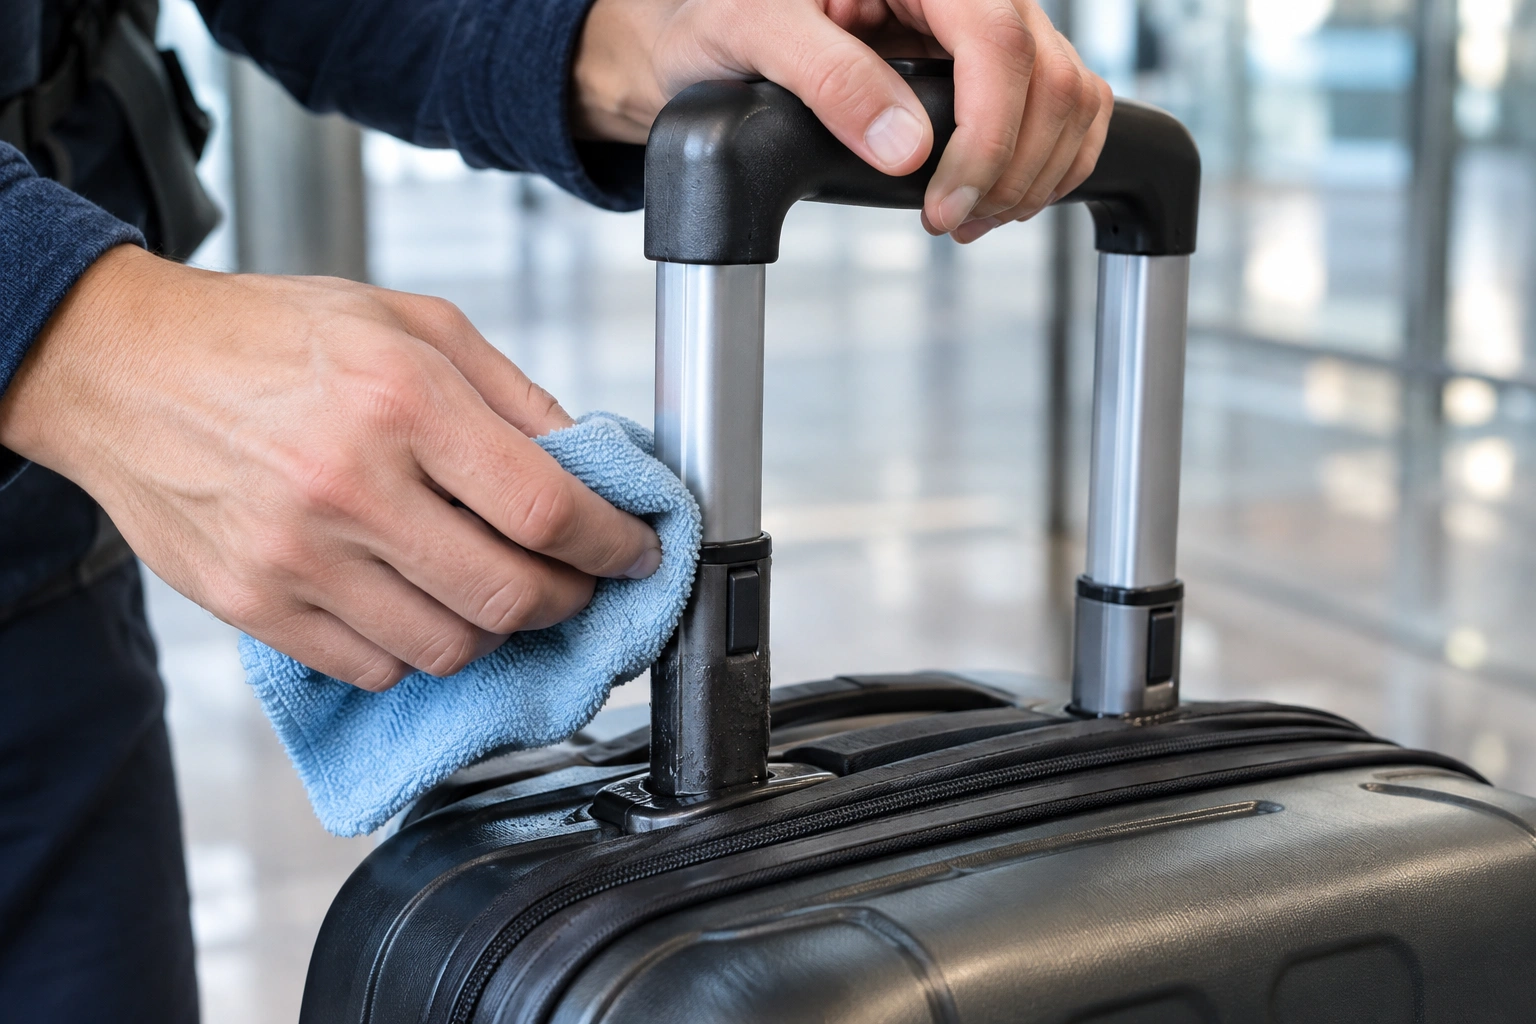
Use the handle in motion to check your work
After wiping, extend and retract the handle a few times. If it feels rough, gritty, or uneven, there may still be debris in the rails or around the release button. Wipe again with a clean cloth rather than adding more cleaner.
When a deeper clean is justified
If the handle is visibly dirty after a trip through rain, dust, or airport congestion, focus on the joints and the underside of the grip. Those are the places where grime tends to build up first.
How to Disinfect Suitcase Handles Without Damaging Them
Cleaning and disinfecting are not the same thing.
When disinfecting is worth doing
Use a disinfecting wipe when the handle has been handled in crowded places or shared transport and the material can tolerate it. That’s most practical for hard plastic, rubberized, and many metal handle surfaces.
Which materials can usually tolerate alcohol or wipes
- Hard plastic: often okay with a disinfecting wipe if the finish is not coated or soft-touch
- Rubber: often okay with a wipe, but check for residue or tackiness
- Bare metal: usually fine if you avoid excess moisture around joints
- Leather: avoid alcohol and disinfecting wipes unless the product specifically says they are safe
- Faux leather: use caution; many finishes can dull, peel, or discolor
- Fabric-covered handles: avoid wipes unless the care label says the fabric can handle them
For leather, faux leather, and soft-touch or coated finishes, a disinfecting wipe is more likely to cause damage than help. If the surface is delicate, use a material-specific cleaner instead.
Soap and water versus disinfecting wipes
- Soap and water: best for dirt, oils, and everyday grime
- Disinfecting wipes: best when you want a cleaner touchpoint after cleaning
- Alcohol-based products: only when the handle material and manufacturer guidance allow it
The trade-off is simple. Stronger products can help with hygiene, but they can also dull finishes or dry out leather-like surfaces. If you’re unsure, use soap and water first and stop there unless the care label says the material can handle more.
How to apply a wipe safely
Wipe the handle with enough pressure to cover the surface, but don’t drench it. Let the surface stay wet only as directed on the product label, then dry it if needed. Avoid spraying disinfectant directly onto the handle, especially around joints.
For leather, faux leather, or fabric-covered grips, check the care instructions before using alcohol-based products. When in doubt, stick to a material-specific cleaner.
How to Remove Sticky, Greasy, or Heavy Buildup
Sticky handles usually come from hand lotion, sunscreen, food residue, or humid-weather grime.
Use a dedicated spot-treatment step
First, isolate the sticky area and work on that section only. Put a small amount of mild soap solution on a microfiber cloth, then press and lift the residue instead of scrubbing across the whole handle. For raised seams or textured grips, use a cotton swab to treat the spot more precisely.
Second, wipe the area with a clean damp cloth to remove leftover film. If the handle still feels tacky, repeat with fresh cloths. A lot of “sticky” residue is simply cleaner, oil, and dirt layered together.
Match the approach to the material
- Plastic or rubber: mild soap plus a soft cloth is usually enough
- Metal telescoping handle: clean carefully around the rails and dry thoroughly
- Leather: use a leather-safe cleaner only
- Fabric-covered grip: dab the area rather than soaking it
Drying and Finishing the Handle Properly
Drying is not a throwaway step.
Why it matters
Leftover moisture can leave residue, make a grip feel tacky, or sit in seams around the telescoping mechanism. On metal parts, it can also contribute to corrosion over time.
What finished should look like
A properly cleaned handle should feel:
- Dry to the touch
- Smooth, not sticky
- Free of soap film
- Easy to extend and retract
After wiping, leave the handle extended for a bit so hidden moisture can evaporate. Then test the action a few times before storing the suitcase.
Common Mistakes to Avoid When Cleaning Suitcase Handles
A few habits cause most handle problems:
- Soaking the handle instead of wiping it
- Spraying cleaner directly into joints
- Using abrasive pads on glossy or soft-touch finishes
- Treating leather like plastic
- Leaving soap residue behind
- Ignoring the underside and crevices
- Using a product without checking the manufacturer’s care instructions
If the handle is a premium material or has a special coating, the luggage brand’s guidance should win over generic cleaning advice.
How Often to Clean Suitcase Handles
There’s no single schedule that fits every traveler, but a practical rhythm helps.
A useful routine
- Daily commuters or frequent travelers: quick wipe after regular use, especially if the bag is handled in public places
- After every trip: quick wipe if the bag was handled in airports, trains, hotels, or ride-shares
- After heavy travel: clean and disinfect if the material allows it
- Monthly or as needed: deeper spot-clean for sticky buildup, visible grime, or dusty storage conditions
If the suitcase is used by a student, commuter, or family member every day, the handle may need attention more often than a vacation bag that spends most of its time in a closet.
The point is to clean before grime gets layered on. Once oils and dirt build up, the handle tends to feel sticky faster and takes longer to restore.
Troubleshooting: What to Do If the Handle Still Feels Sticky or Looks Dull
If the handle still feels off after cleaning, don’t immediately reach for a stronger chemical.
If it still feels sticky
That usually means one of three things:
- Soap residue is still on the surface
- The material is reacting badly to the cleaner
- There’s deeper grime in seams or texture
Try wiping again with a clean damp cloth, then dry it completely. If the issue remains, switch to a material-safe cleaner rather than a harsher one.
If it looks dull
A dull finish can come from residue, over-cleaning, or a cleaner that’s too strong for the surface. On glossy plastic, a final wipe with clean water and a dry cloth often improves the look. On leather, use a proper leather product instead of trying to polish it with household cleaners.
If the handle still feels rough
The problem may be inside the telescoping mechanism, not on the surface. At that point, stop adding liquid. Clean only the accessible areas and check whether the handle moves smoothly after drying. If it doesn’t, it may need professional attention.
When to See a Luggage Repair Specialist
If the handle sticks, grinds, or retracts unevenly after cleaning and drying, stop there. The same goes for cracked leather wraps, peeling faux leather, or a handle that feels loose at the joints. A repair specialist can tell you whether the problem is grime, wear, or a mechanism issue before you make it worse with more cleaning.
For most suitcases, though, the fix is straightforward: use the gentlest cleaner that fits the material, keep moisture under control, and dry the handle fully. That routine keeps the grip cleaner, the mechanism happier, and the bag easier to use on the next trip.