
How to Clean a Water-Resistant Backpack Without Damaging the Finish

A water-resistant backpack is built to shrug off light rain, coffee splashes, and everyday grime. But the same coatings and bonded seams that help it resist moisture can also be sensitive to heat, harsh chemicals, and rough washing.
If you want the short version: mild soap, lukewarm water, soft cloth, patience, and air drying.
Quick decision box: Spot clean if the mess is small or fresh, hand wash if dirt, odor, or grime is more widespread, and machine wash only if the care label explicitly allows it.
A practical rule of thumb: clean the backpack after spills, visible dirt, lingering odors, or before seasonal storage.
What You Need to Know Before Cleaning
Before you touch soap or water, check the care label and the brand’s cleaning guidance. That matters because water-resistant backpacks are not all built the same. A coated nylon commuter bag, a seam-sealed travel pack, and a technical hiking pack may tolerate different levels of soaking and scrubbing.
General guidance is to follow the manufacturer first, because some packs can handle a careful hand wash while others should not be submerged at all. If the label is missing or unclear, assume the more cautious option and avoid machine washing.
A useful rule: if the backpack has glued seams, laminated panels, a removable rain cover, or a delicate technical coating, keep the cleaning gentle and targeted. Deuter specifically advises removing the rain cover before washing because submerging it can affect the DWR finish or seam seals. That’s a good reminder that accessories may need different care than the bag itself. For more on care frequency, see how often you should clean a backpack.
Hand wash, spot clean, or machine wash?
Here’s the decision framework I use:
| Situation | Best approach | Why |
|---|---|---|
| Light dust, fingerprints, small splash marks | Spot clean | Least water, least wear |
| General dirt on the exterior, straps, or lining | Hand wash | Better coverage without machine agitation |
| Odor, mildew, or widespread grime | Full hand wash | Reaches more surfaces and trapped residue |
| Manufacturer explicitly allows machine washing | Limited machine wash, only if label says so | Faster, but higher risk to fabric, zippers, and coatings |
Hand washing is generally the safer route for water-resistant backpacks. In general, machine washing is not recommended unless the care label explicitly says it is allowed, because agitation can be hard on fabric, zippers, shape, and seam tape.
Tools and Cleaning Supplies You’ll Need
Gather everything before you start so you don’t leave the backpack wet while hunting for supplies.
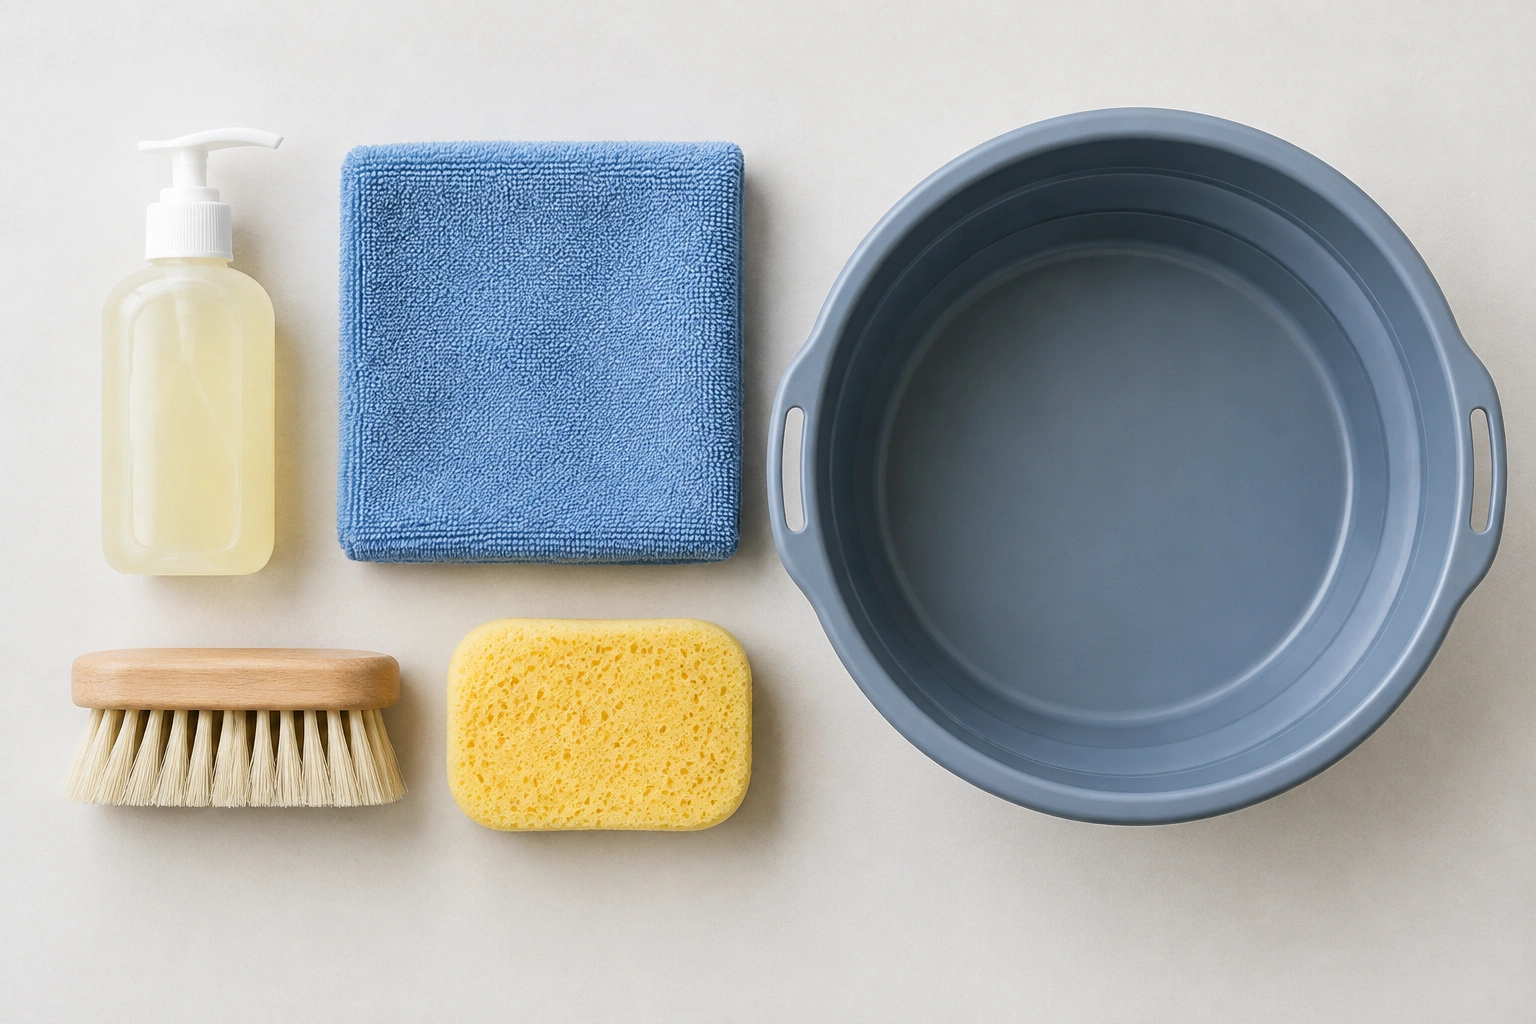
Use:
– Lukewarm water
– Mild soap or a gentle detergent
– Soft cloths or a microfiber towel
– Soft-bristle brush
– Sponge
– A basin, sink, tub, or bucket
– Clean towels for blotting
A practical caution: use mild cleaners and avoid bleach, fabric softeners, and harsh all-purpose products unless the manufacturer specifically says they’re safe for the material. Mild soap is slower, but it’s the safer trade-off for the fabric and hardware.
How to Clean a Water-Resistant Backpack by Hand
For most bags, this is the method I’d trust first.
1) Empty the backpack completely
Unzip every compartment and shake out crumbs, dirt, coins, and pen caps. Check the hidden pockets too. If you skip this step, grit can turn into abrasive paste once water hits it.
2) Brush off loose dirt
Use a dry soft brush or a dry cloth to remove dust and dried mud from the surface. This keeps you from grinding debris into the fabric during washing.
3) Mix a mild cleaning solution
Fill a basin, sink, or tub with lukewarm water and add a small amount of mild soap. You want enough suds to clean, not a thick bath of foam.
4) Clean the exterior gently
Dip a soft cloth or sponge into the solution, wring it out well, and wipe the exterior. For stubborn dirt, use a soft-bristle brush with light pressure. Think “lift the dirt,” not “scrub the coating.”
If the bag is only lightly dirty, this may be enough. Spot cleaning preserves the finish better than a full wash, especially on coated panels that don’t need much moisture.
5) Rinse with clean water
Use a clean damp cloth to wipe away soap, or rinse carefully with clean lukewarm water if the care label allows it. The goal is to remove residue without soaking the bag for long periods.
6) Blot excess moisture
Press a microfiber towel against the surface to pull out water. Don’t wring, twist, or squeeze the backpack like laundry. That can stress seams, foam padding, and zipper tape.
How to Clean the Inside, Straps, Zippers, and Seams
These areas collect the mess that makes a backpack feel “dirty” even when the outside looks fine.
Interior lining
Turn the bag upside down and shake out debris. Then wipe the lining with a cloth dampened in mild soap solution. If you want a deeper method for pockets and corners, our guide to how to clean backpack pockets and how to clean backpack lining covers the details.
For lunch crumbs, pencil dust, and general grime, a damp cloth is usually enough. For odor, you may need a fuller wash and longer drying time.
Straps and back panel
These parts absorb sweat and body oils. Use a sponge or cloth with mild soap solution, then wipe again with plain water. Avoid soaking foam padding, because it takes longer to dry and can hold odor if left damp.
If the straps are especially grimy, see how to clean backpack straps for a more focused method.
Zippers and seams
Use a soft brush to loosen dirt from zipper tracks and stitched seams. Then wipe with a barely damp cloth. Don’t flood these areas. Water pooled in seams can take forever to dry, and repeated soaking can be hard on adhesives and seam tape.
For a deeper zipper-specific approach, how to clean backpack zippers walks through the small details that matter.
Hardware, closures, and accessories
Clean these parts separately and keep moisture light:
- Buckles and clips: Wipe with a damp cloth and mild soap, then dry around the joints so grit doesn’t get trapped.
- Hook-and-loop closures: Close the fastener and use a soft brush or lint tool to lift debris. Avoid soaking, which can pack dirt deeper into the fibers.
- Rain covers: Remove them before washing the backpack unless the manufacturer says otherwise. Clean them according to their own care instructions, since they may have different coatings or seam treatments.
- Clasps and adjustment hardware: Wipe clean, then make sure sand or soap residue isn’t left in moving parts.
How to Remove Stains, Odors, and Mildew Safely
Different messes need different tactics.
Coffee, food, and everyday stains
For fresh stains, blot first. Rubbing usually pushes the stain deeper. Then use a small amount of mild soap on a damp cloth and work from the outside of the stain inward. Rinse the area with a clean cloth afterward.
If the stain is on a non-absorbent exterior, some manufacturers may suggest a stronger surface cleaner for that specific material. Only use those products when the care guidance clearly says they’re compatible. On most backpacks, mild soap is the safer default.
Odors from gym clothes or damp storage
Odor usually lives in the lining, straps, and seams. Clean those areas thoroughly, then dry the bag completely. If the smell lingers, it often means residue is still trapped in the fabric or the pack was stored while damp.
A full hand wash is better than spot cleaning when odor is spread throughout the bag. Spot cleaning might make the surface look better without fixing the smell.
Mildew spots
Start with the safest default: gently wash the affected area with mild soap and water, then dry the backpack completely in moving air.
If mildew remains and the material is known to tolerate it, a diluted white vinegar solution may be an optional follow-up step. Test it on an inconspicuous area first, use it sparingly, and rinse afterward. Vinegar is not the first choice for every backpack, especially if the fabric, dye, or coating is sensitive.
Never use bleach on mildew in a water-resistant backpack unless the manufacturer explicitly allows it — and most do not.
How to Dry the Backpack Without Damaging Water Resistance
Drying is where a lot of people accidentally undo good cleaning work.
Air drying is the safest option. Hang the backpack open in a well-ventilated area, away from direct heat. Open every pocket, loosen straps, and unzip compartments so air can move through the bag. A fan helps. A sunny windowsill may seem harmless, but prolonged direct heat and strong sun can be rough on coatings and adhesives.

Do not use a dryer, radiator, or hair dryer. Heat can warp parts, weaken glue, and shorten the life of water-resistant finishes.
Before you store it, check the parts that trap moisture most easily:
– Foam padding in the straps and back panel
– Seam tape and stitched corners
– Zipper areas and pocket folds
– The inside of the main compartment and small pockets
If any of those areas still feel cool, damp, or heavy, keep drying. The bag should feel fully dry inside and out before storage.
Drying time depends on the bag’s padding, lining, and humidity. A lightly cleaned daypack may dry overnight. A heavily washed travel pack with thick foam can take longer.
If you store it damp, mildew is waiting for you.
When and How to Reapply Water-Repellent Treatment
Not every cleaned backpack needs reproofing. Look for a practical clue: if water no longer beads on the outside and instead soaks into the face fabric, the DWR finish may be wearing down.
That doesn’t always mean the backpack is ruined. It may just need a water-repellent treatment refreshed. Apply a waterproofing spray only after the bag is completely clean and fully dry. If you spray over dirt, you lock grime in place. If you spray over damp fabric, the treatment may not bond well.
Use the product only if it’s compatible with the material. Follow the label exactly, and keep the application even rather than heavy. The goal is a light protective finish, not a wet film.
Common Mistakes That Can Ruin a Water-Resistant Backpack
These are the mistakes I see most often:
- Using bleach or harsh chemicals
- Putting the bag in a washer when the label doesn’t allow it
- Scrubbing with an abrasive brush or rough sponge
- Soaking the bag for long periods
- Using hot water or machine drying
- Forgetting to clean straps, seams, and zipper tracks
- Storing the bag before it is fully dry
- Reproofing while the fabric is dirty or damp
One more subtle mistake: using too much soap. Residue can attract dirt and make the fabric feel grimy again. A small amount of mild soap is usually enough.
Practical Examples: Choosing the Right Cleaning Method
A commuter backpack with coffee splashes
Spot clean the front panel with mild soap and a microfiber cloth. If the spill dried and left a ring, repeat gently rather than scrubbing hard.
A student backpack that smells like gym clothes
Do a full hand wash, focusing on the lining, straps, and back panel. Odor usually means the problem is spread out, not isolated.
A travel backpack with muddy seams after rain
Use a soft brush on the seams and zipper tracks, then wipe the whole bag with a damp cloth. Don’t soak the pack just because the seams are dirty.
A backpack stored damp with mildew spots
Treat the spots carefully, then dry the pack completely in moving air. If the smell persists, the bag may need a second gentle wash and longer drying time before it’s safe to store again.
When to See a Luggage Repair Specialist
If the backpack has torn fabric, broken zipper teeth, separated seam tape, or a coating that’s peeling off in sheets, cleaning won’t solve the real problem. At that point, a repair specialist can tell you whether the bag is worth restoring or whether the damage has moved beyond routine care.
If the water resistance seems weak after cleaning, but the fabric and hardware are still in good shape, that’s often a maintenance issue. If the bag leaks because of structural damage, that’s a repair issue.
For readers who want to keep the rest of the bag in good shape, our guides on how to clean the bottom of a backpack and the pocket, strap, and zipper care articles above can help extend the life of the whole pack.
Quick Final Checklist Before You Put It Away
Before storage, confirm these basics:
– The backpack is fully dry inside and out
– The seams, zipper tracks, and foam padding are dry to the touch
– No soap residue or lingering odor remains
– Hardware, buckles, clips, and hook-and-loop closures are clean
– The rain cover is removed and dry if it was part of the pack
– Reproofing is only considered if water no longer beads on the fabric
Clean gently, dry fully, and avoid the shortcuts that wear out the finish.